


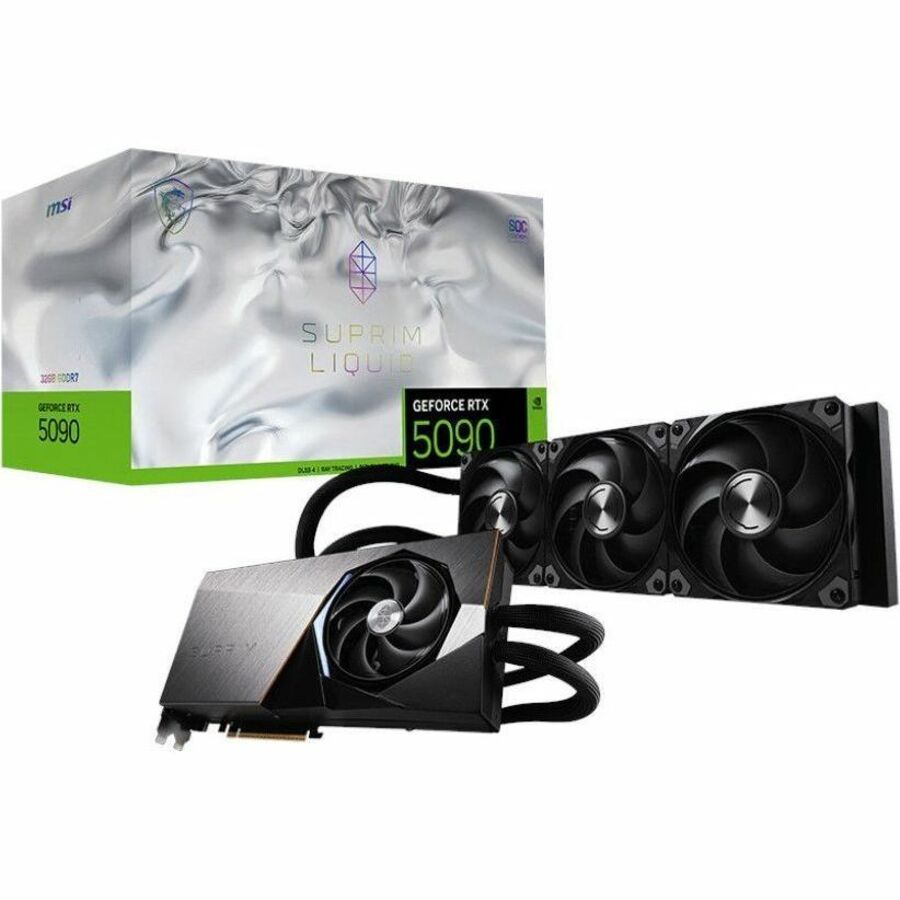
MSI RTX 5090 32G SUPRIM LIQUID SOC
MSI RTX 5090 32G SUPRIM LIQUID SOC
Couldn't load pickup availability
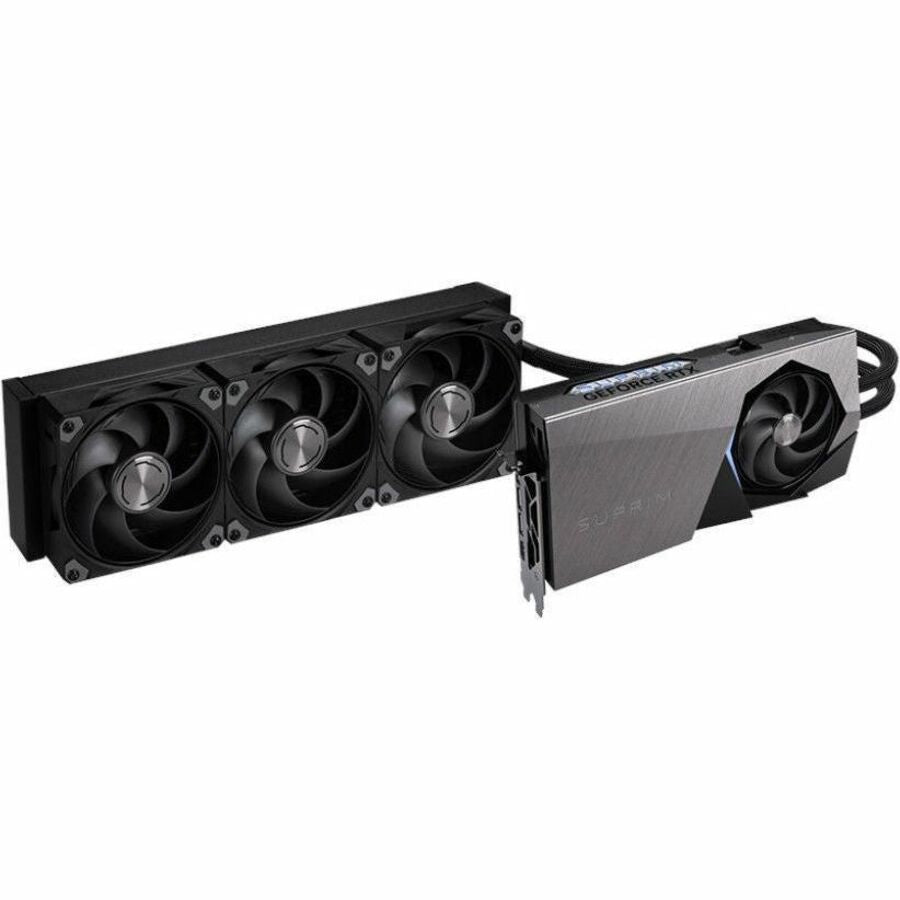
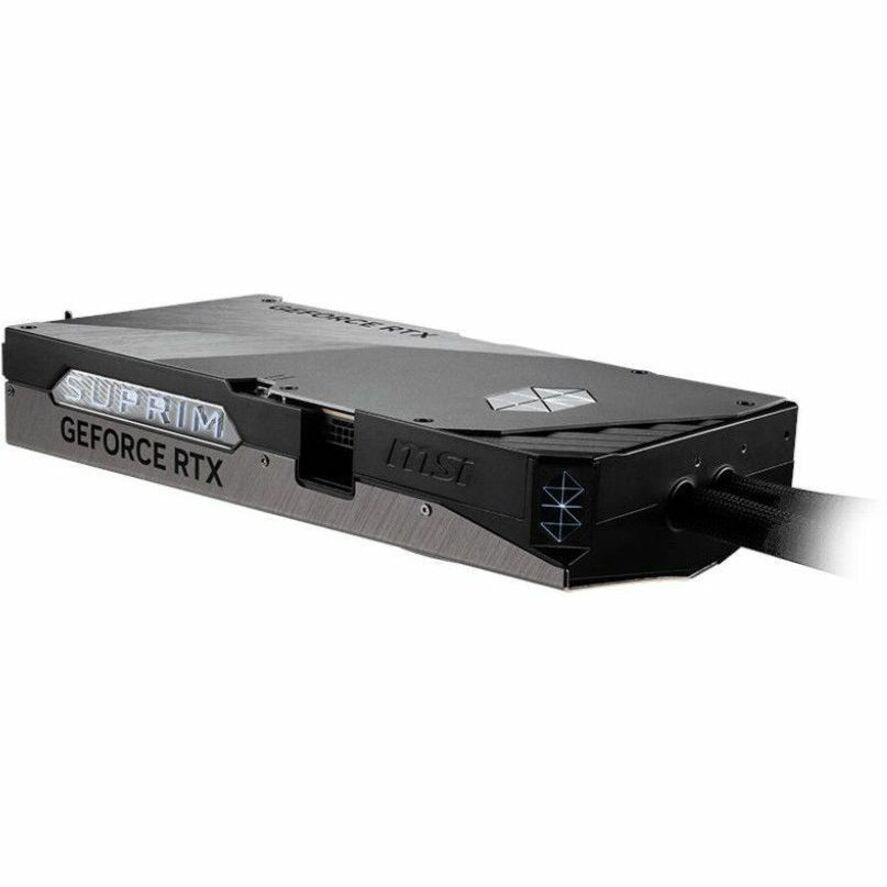
The Liquid-Cooled Titan: MSI GeForce RTX 5090 SUPRIM LIQUID SOC
The MSI GeForce RTX 5090 SUPRIM LIQUID SOC is a masterpiece of engineering, built to deliver an unrivaled gaming and creation experience. With its powerful NVIDIA Blackwell architecture and a massive 32GB of GDDR7 VRAM, this card is ready to handle any task at the highest resolution. Its innovative hybrid cooling system, featuring a liquid-cooled GPU and VRAM, ensures peak performance without the heat, while its sleek design and refined LED lighting make it a true showstopper.
⭐ Highlights
⭐ Highlights
Next-Gen Hybrid Liquid Cooling | Massive 32GB GDDR7 VRAM | 6.0 GHz Thermal Velocity Boost | Flagship Performance for 8K/AI Creation | Patented GPU & VRAM Water Block
⚙️ Specifications
⚙️ Specifications
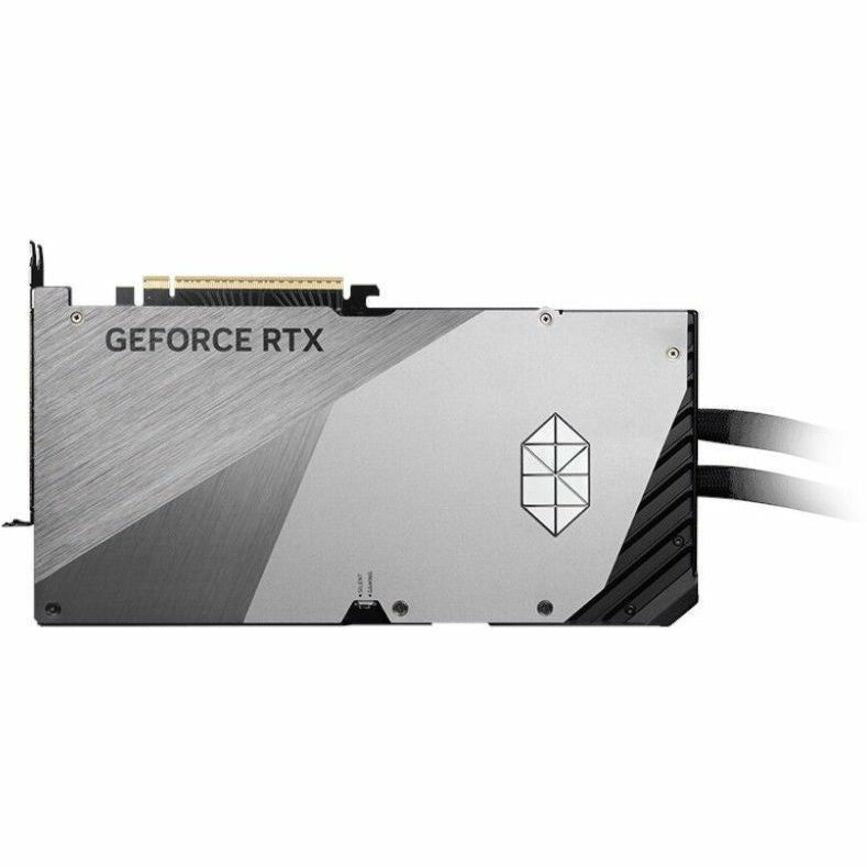
GPU Manufacturer: MSI
GPU Model: GeForce RTX 5090 32G SUPRIM LIQUID SOC
VRAM Size: 32 GB GDDR7
Boost Clock: 2565 MHz (Gaming Mode) / 2512 MHz (Silent Mode)
Interface: PCI Express 5.0 x16
Length and Height: 359 mm (Length), 150 mm (Width), 76 mm (Height)
Width Slots: Not specified, but implied to be a large card.
Power Connectors: Not specified, but implied to be a large card.
PSU Wattage Recommendation: 1000W
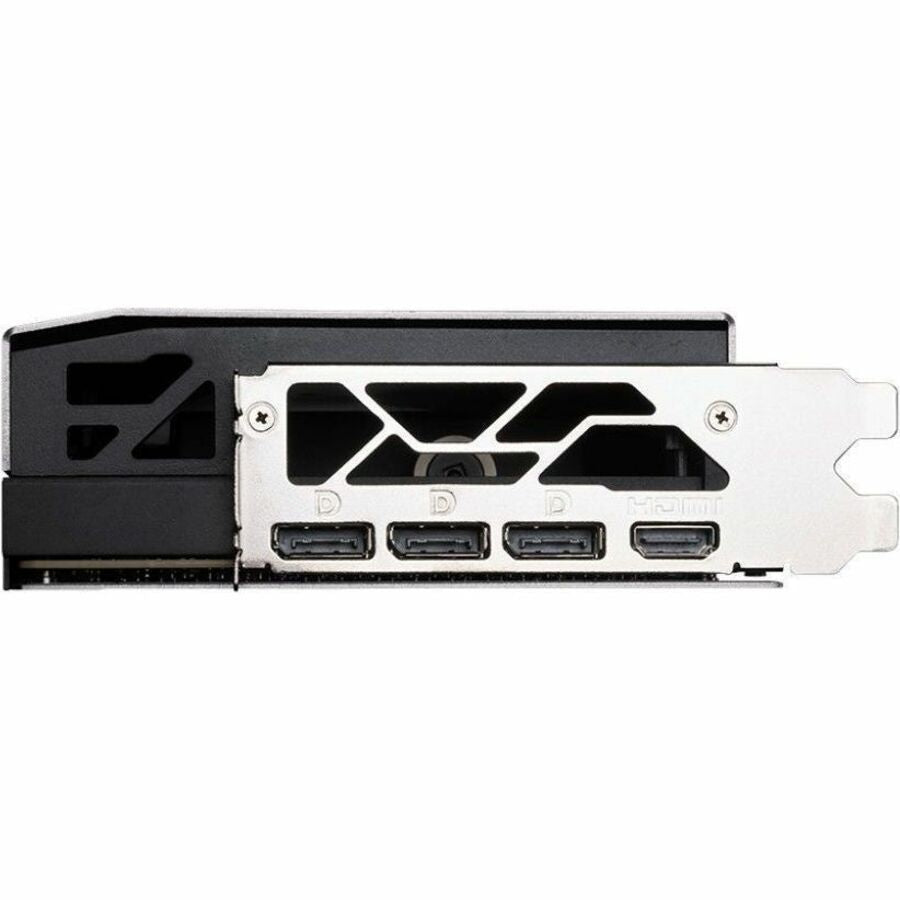
Display Ports: 3 x DisplayPort 2.1, 1 x HDMI 2.1
Share


The POST-Check Protocol
-
PSU & Cable Capacity
Action: Must verify your Power Supply Unit (PSU) meets the GPU's minimum wattage recommendation and has the correct number/type of PCIe power connectors. Why: Underpowering the GPU causes system instability, crashes, and risks damage to the PSU or the graphics card itself.
-
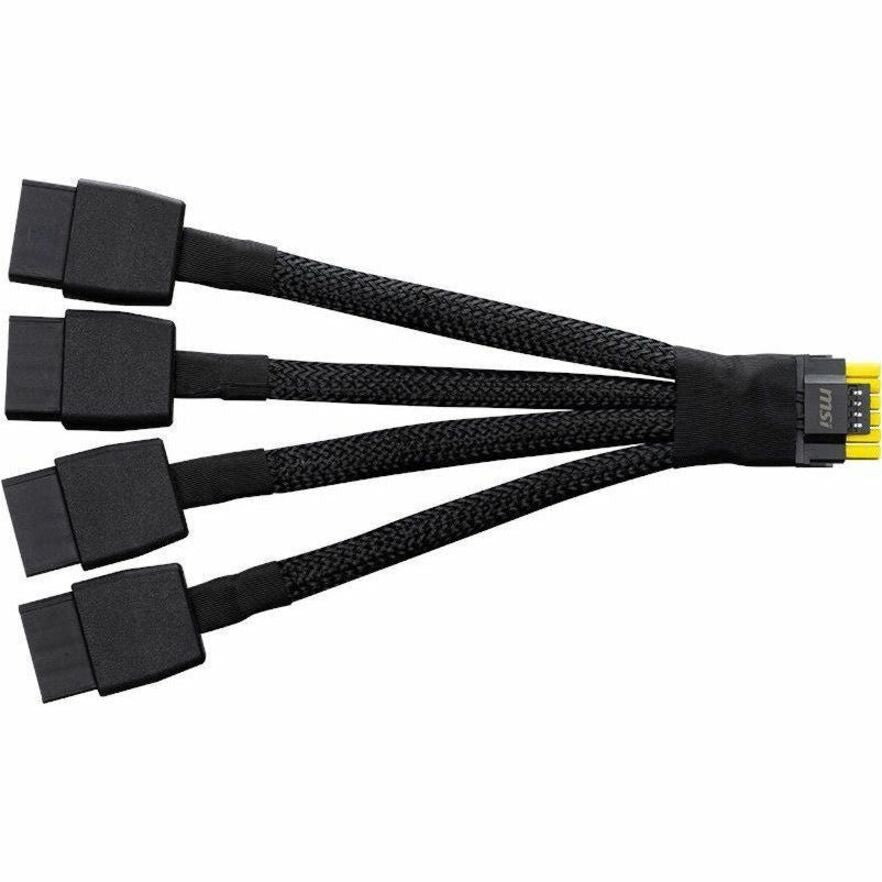
Dedicated Power Cables
Action: Always use separate, dedicated PCIe power cables running from the PSU to each port on the GPU, avoiding "daisy-chain" cables when possible. Why: Daisy-chaining too much power through a single cable can lead to voltage drops or melted connectors on high-end cards.
-
Primary PCIe Slot
Action: Always install the GPU into the topmost, longest PCIe slot (usually an x16 slot), and ensure you remove the corresponding metal bracket(s) from the case's rear. Why: This slot is directly connected to the CPU and provides the full bandwidth required for optimal gaming performance.
-
Seating & Latch
Action: Align the GPU's gold connector with the slot and press firmly and evenly until you hear or feel a definitive click from the plastic retaining latch. Why: If the card is not fully seated, the system will not recognize the GPU, and the latch will not lock it in place.
-
Sag Prevention
Action: Use a GPU support bracket, anti-sag stand, or a screw-in support (if available) to support the card's outer edge. Why: Modern GPUs are long and heavy, and without support, they can gradually bend and stress the PCIe slot on the motherboard over time.
-
Monitor Connection
Action: After the PC is powered on and the operating system boots, plug your monitor cable (HDMI/DisplayPort) directly into the new GPU's ports, not the motherboard's ports. Why: The motherboard ports are for integrated graphics and will not display anything if a dedicated GPU is properly running.