


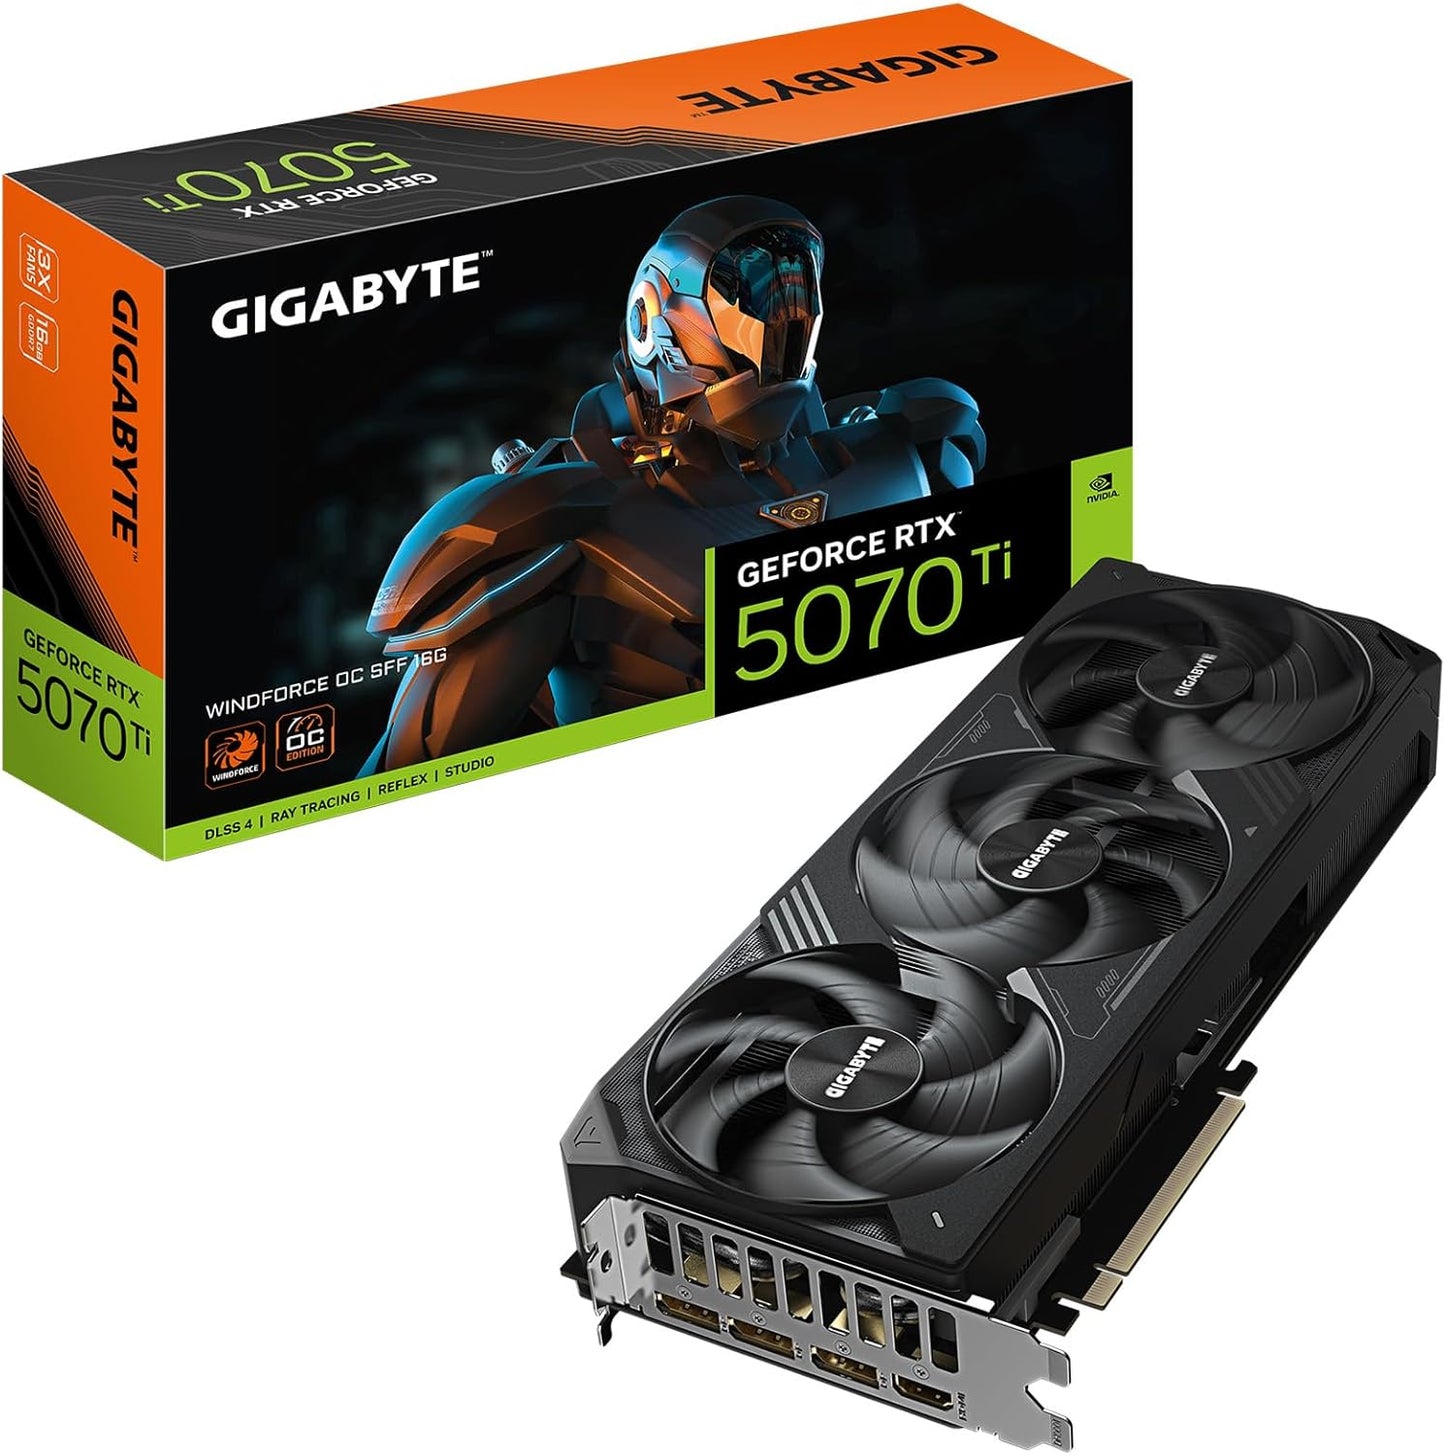
Gigabyte GeForce RTX 5070 Ti WINDFORCE SFF 16G
Gigabyte GeForce RTX 5070 Ti WINDFORCE SFF 16G
Couldn't load pickup availability
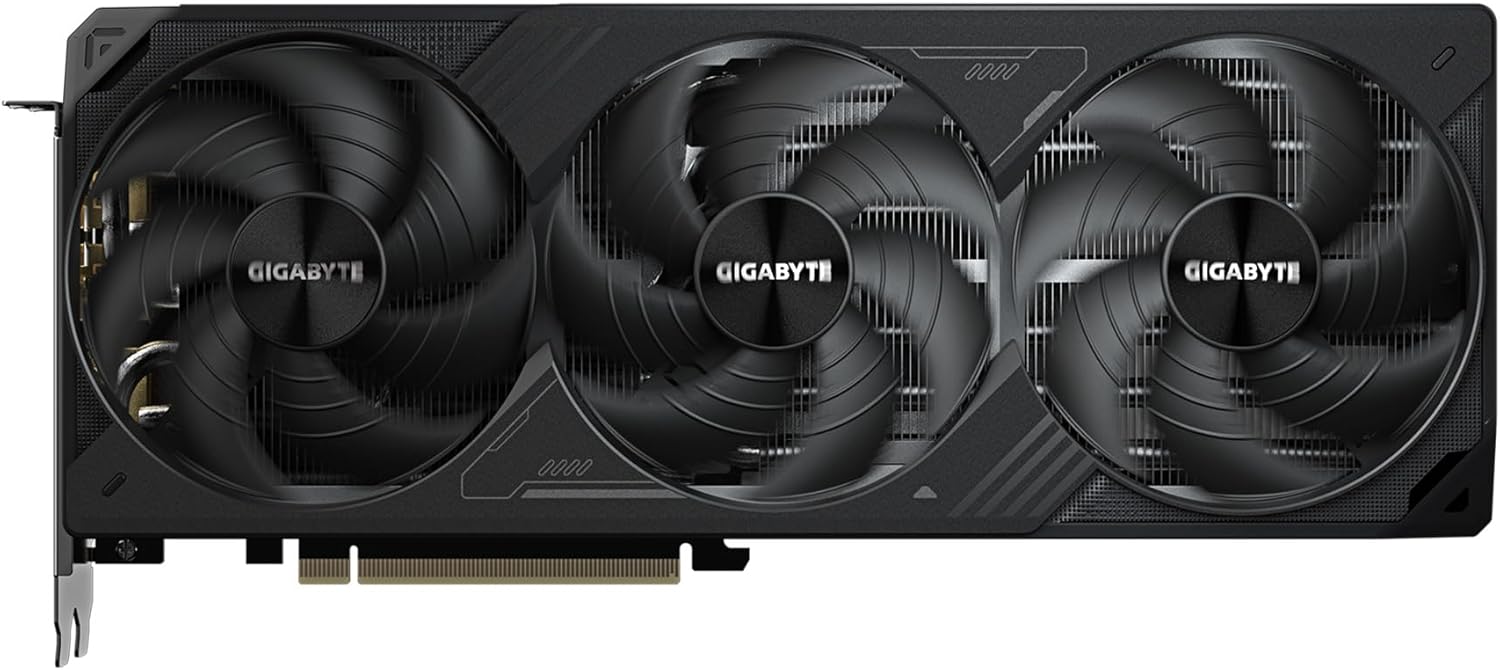
The Compact Pocket Rocket: Gigabyte RTX 5070 Ti WINDFORCE SFF
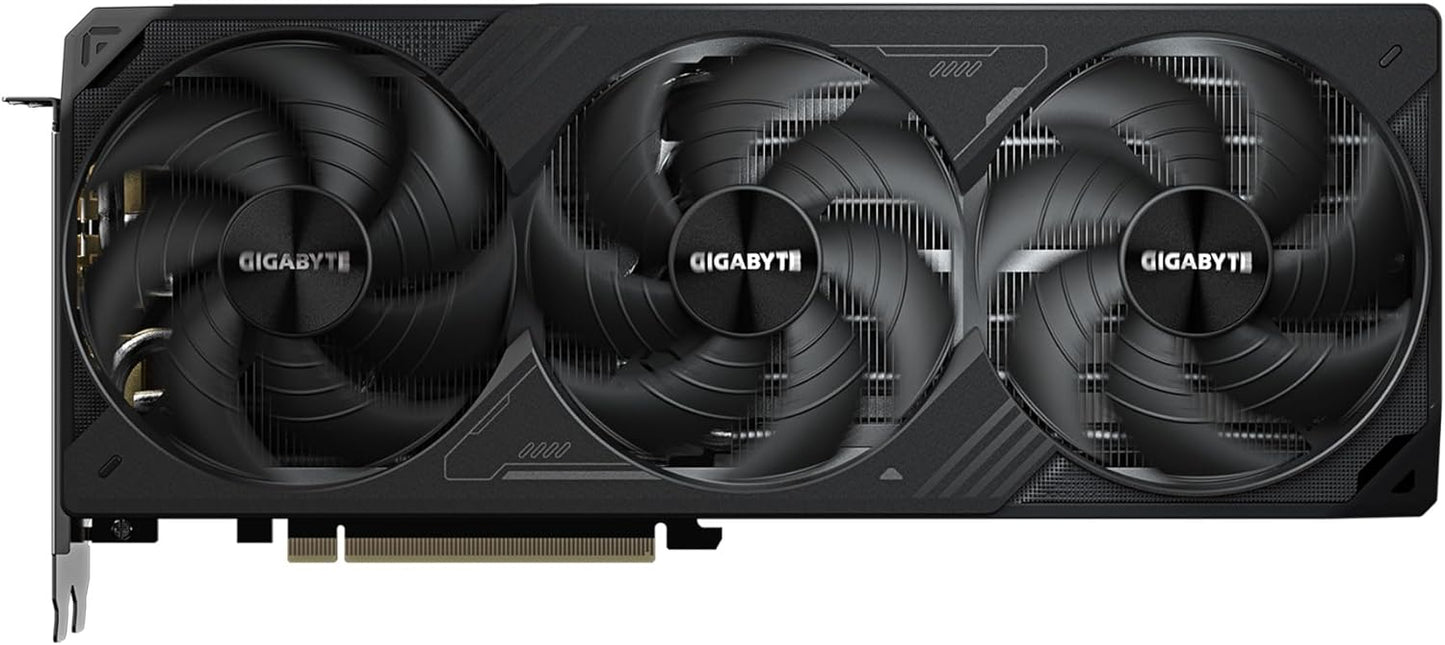
The Gigabyte RTX 5070 Ti WINDFORCE SFF proves that big power can come in a small package! This graphics card is specifically designed to fit into the sleekest, smallest PC cases without compromising on performance. With its powerful GPU and 16GB of VRAM, you can enjoy top-tier gaming performance even in a tight space. If you are building a Mini-ITX or other Small Form Factor PC, this card is the perfect fit to give you the performance you need.
⭐ Highlights
⭐ Highlights
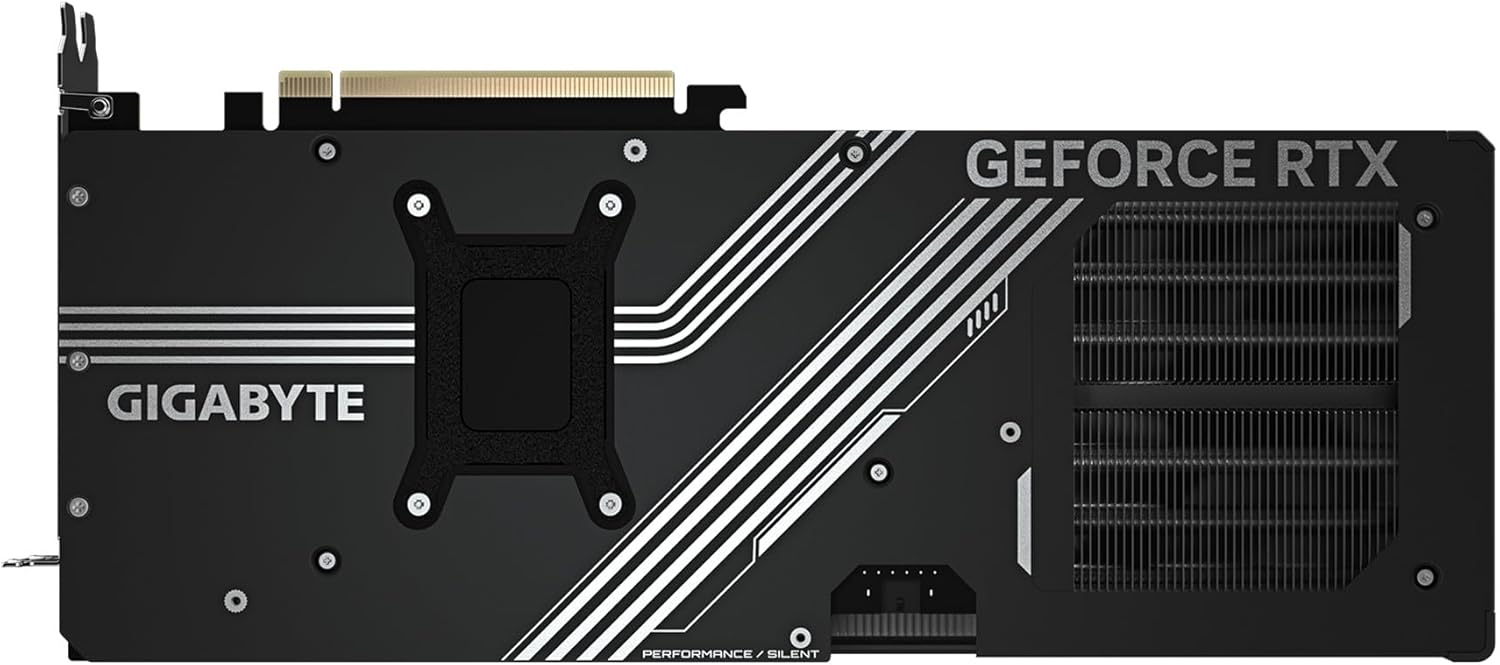
NVIDIA SFF-Ready Compact Design | WINDFORCE Triple-Fan Cooling | 16GB GDDR7 High-Speed VRAM | Server-Grade Thermal Gel Application | Dual BIOS (Performance/Silent Modes)
⚙️ Specifications
⚙️ Specifications
GPU Manufacturer: Gigabyte
GPU Model: GeForce RTX 5070 Ti WINDFORCE SFF
VRAM Size: 16 GB GDDR7
Boost Clock: 2595 MHz
Interface: PCI Express 5.0 x16
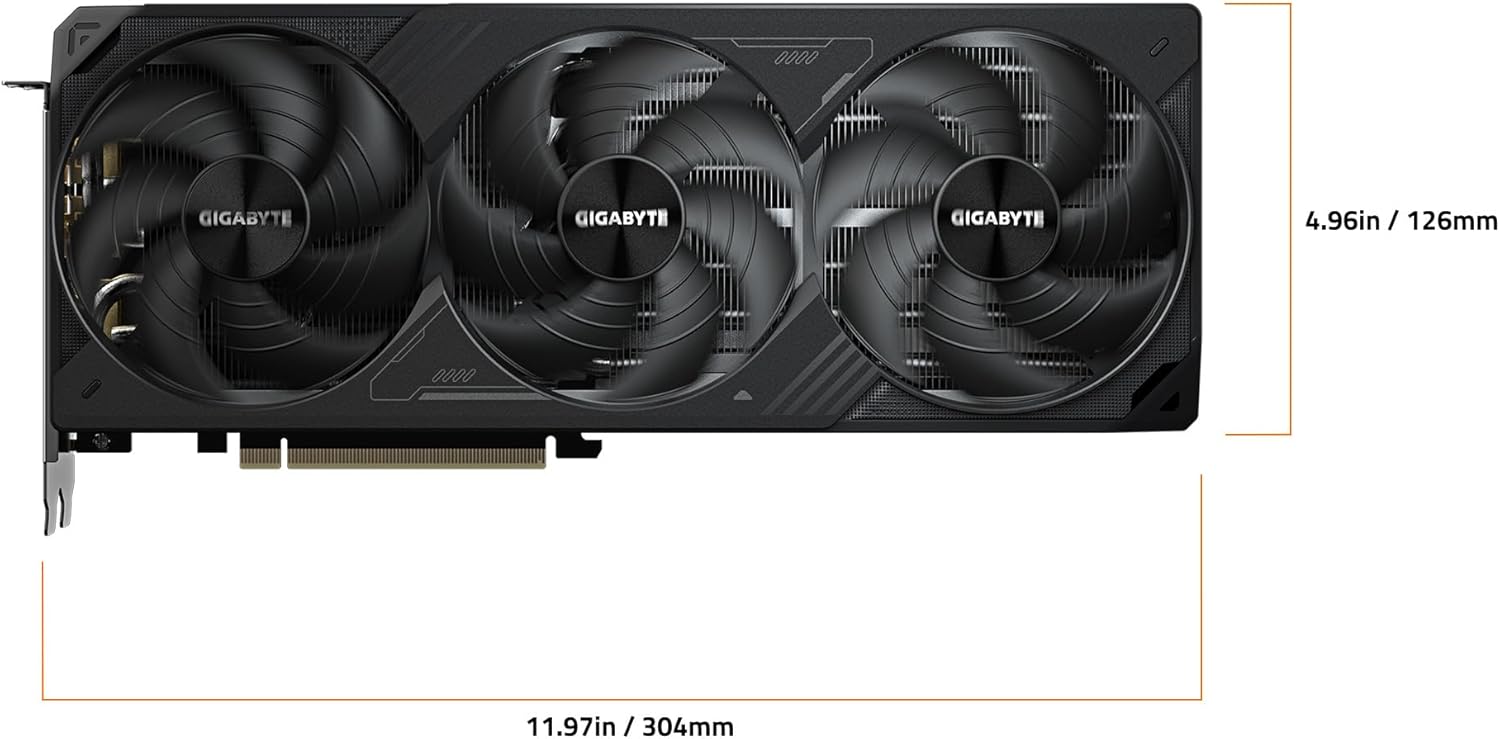
Length and Height: 200 mm (Length), 125 mm (Height)
Width Slots: 2.5-Slot
Power Connectors: 2.5-Slot
PSU Wattage Recommendation: 750W
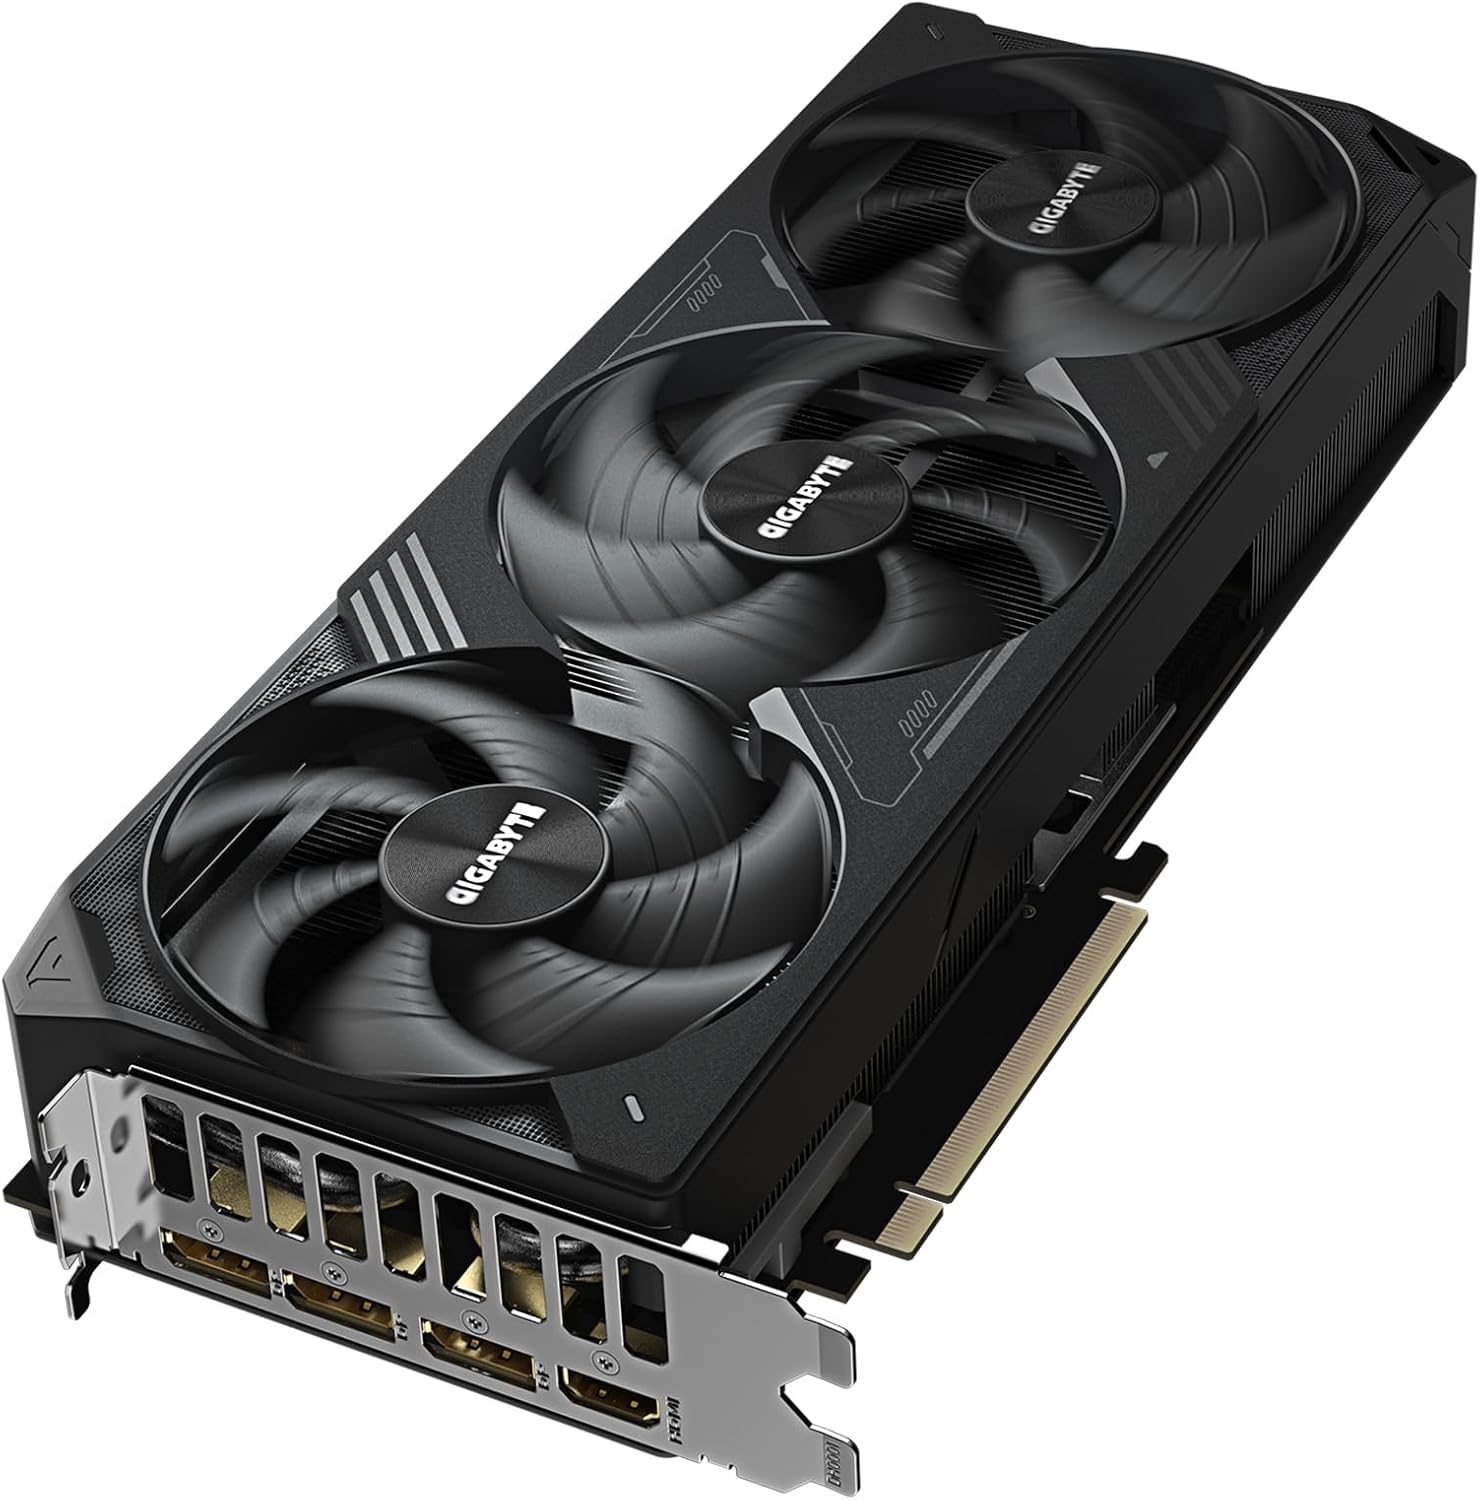
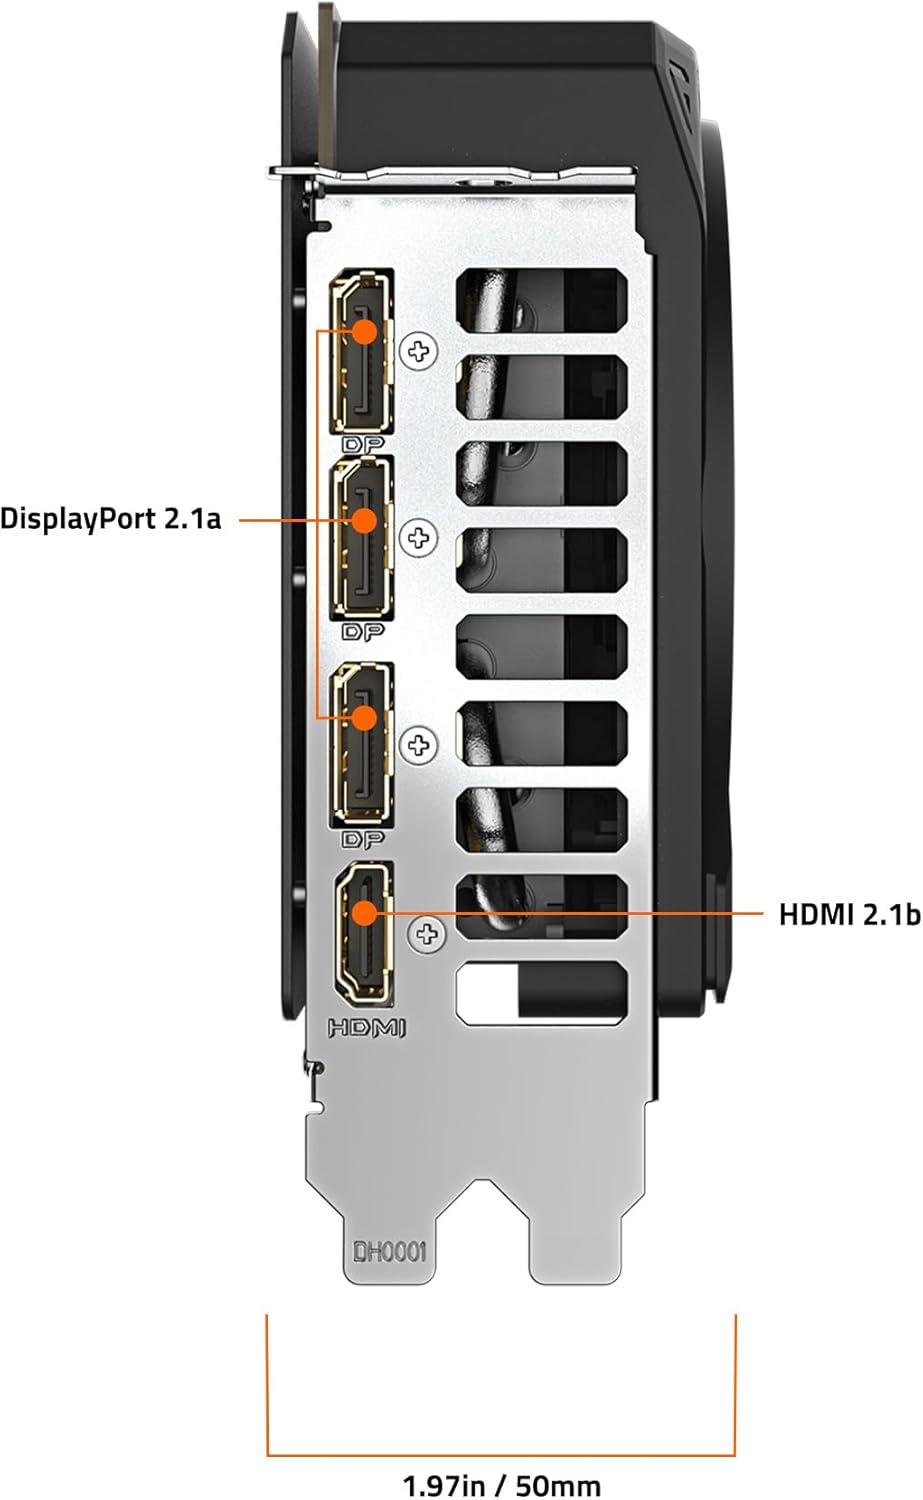
Display Ports: 3 x DisplayPort 2.1, 1 x HDMI 2.1
Share


The POST-Check Protocol
-
PSU & Cable Capacity
Action: Must verify your Power Supply Unit (PSU) meets the GPU's minimum wattage recommendation and has the correct number/type of PCIe power connectors. Why: Underpowering the GPU causes system instability, crashes, and risks damage to the PSU or the graphics card itself.
-
Dedicated Power Cables
Action: Always use separate, dedicated PCIe power cables running from the PSU to each port on the GPU, avoiding "daisy-chain" cables when possible. Why: Daisy-chaining too much power through a single cable can lead to voltage drops or melted connectors on high-end cards.
-
Primary PCIe Slot
Action: Always install the GPU into the topmost, longest PCIe slot (usually an x16 slot), and ensure you remove the corresponding metal bracket(s) from the case's rear. Why: This slot is directly connected to the CPU and provides the full bandwidth required for optimal gaming performance.
-
Seating & Latch
Action: Align the GPU's gold connector with the slot and press firmly and evenly until you hear or feel a definitive click from the plastic retaining latch. Why: If the card is not fully seated, the system will not recognize the GPU, and the latch will not lock it in place.
-
Sag Prevention
Action: Use a GPU support bracket, anti-sag stand, or a screw-in support (if available) to support the card's outer edge. Why: Modern GPUs are long and heavy, and without support, they can gradually bend and stress the PCIe slot on the motherboard over time.
-
Monitor Connection
Action: After the PC is powered on and the operating system boots, plug your monitor cable (HDMI/DisplayPort) directly into the new GPU's ports, not the motherboard's ports. Why: The motherboard ports are for integrated graphics and will not display anything if a dedicated GPU is properly running.