

Fractal Design North XL
Fractal Design North XL
Couldn't load pickup availability
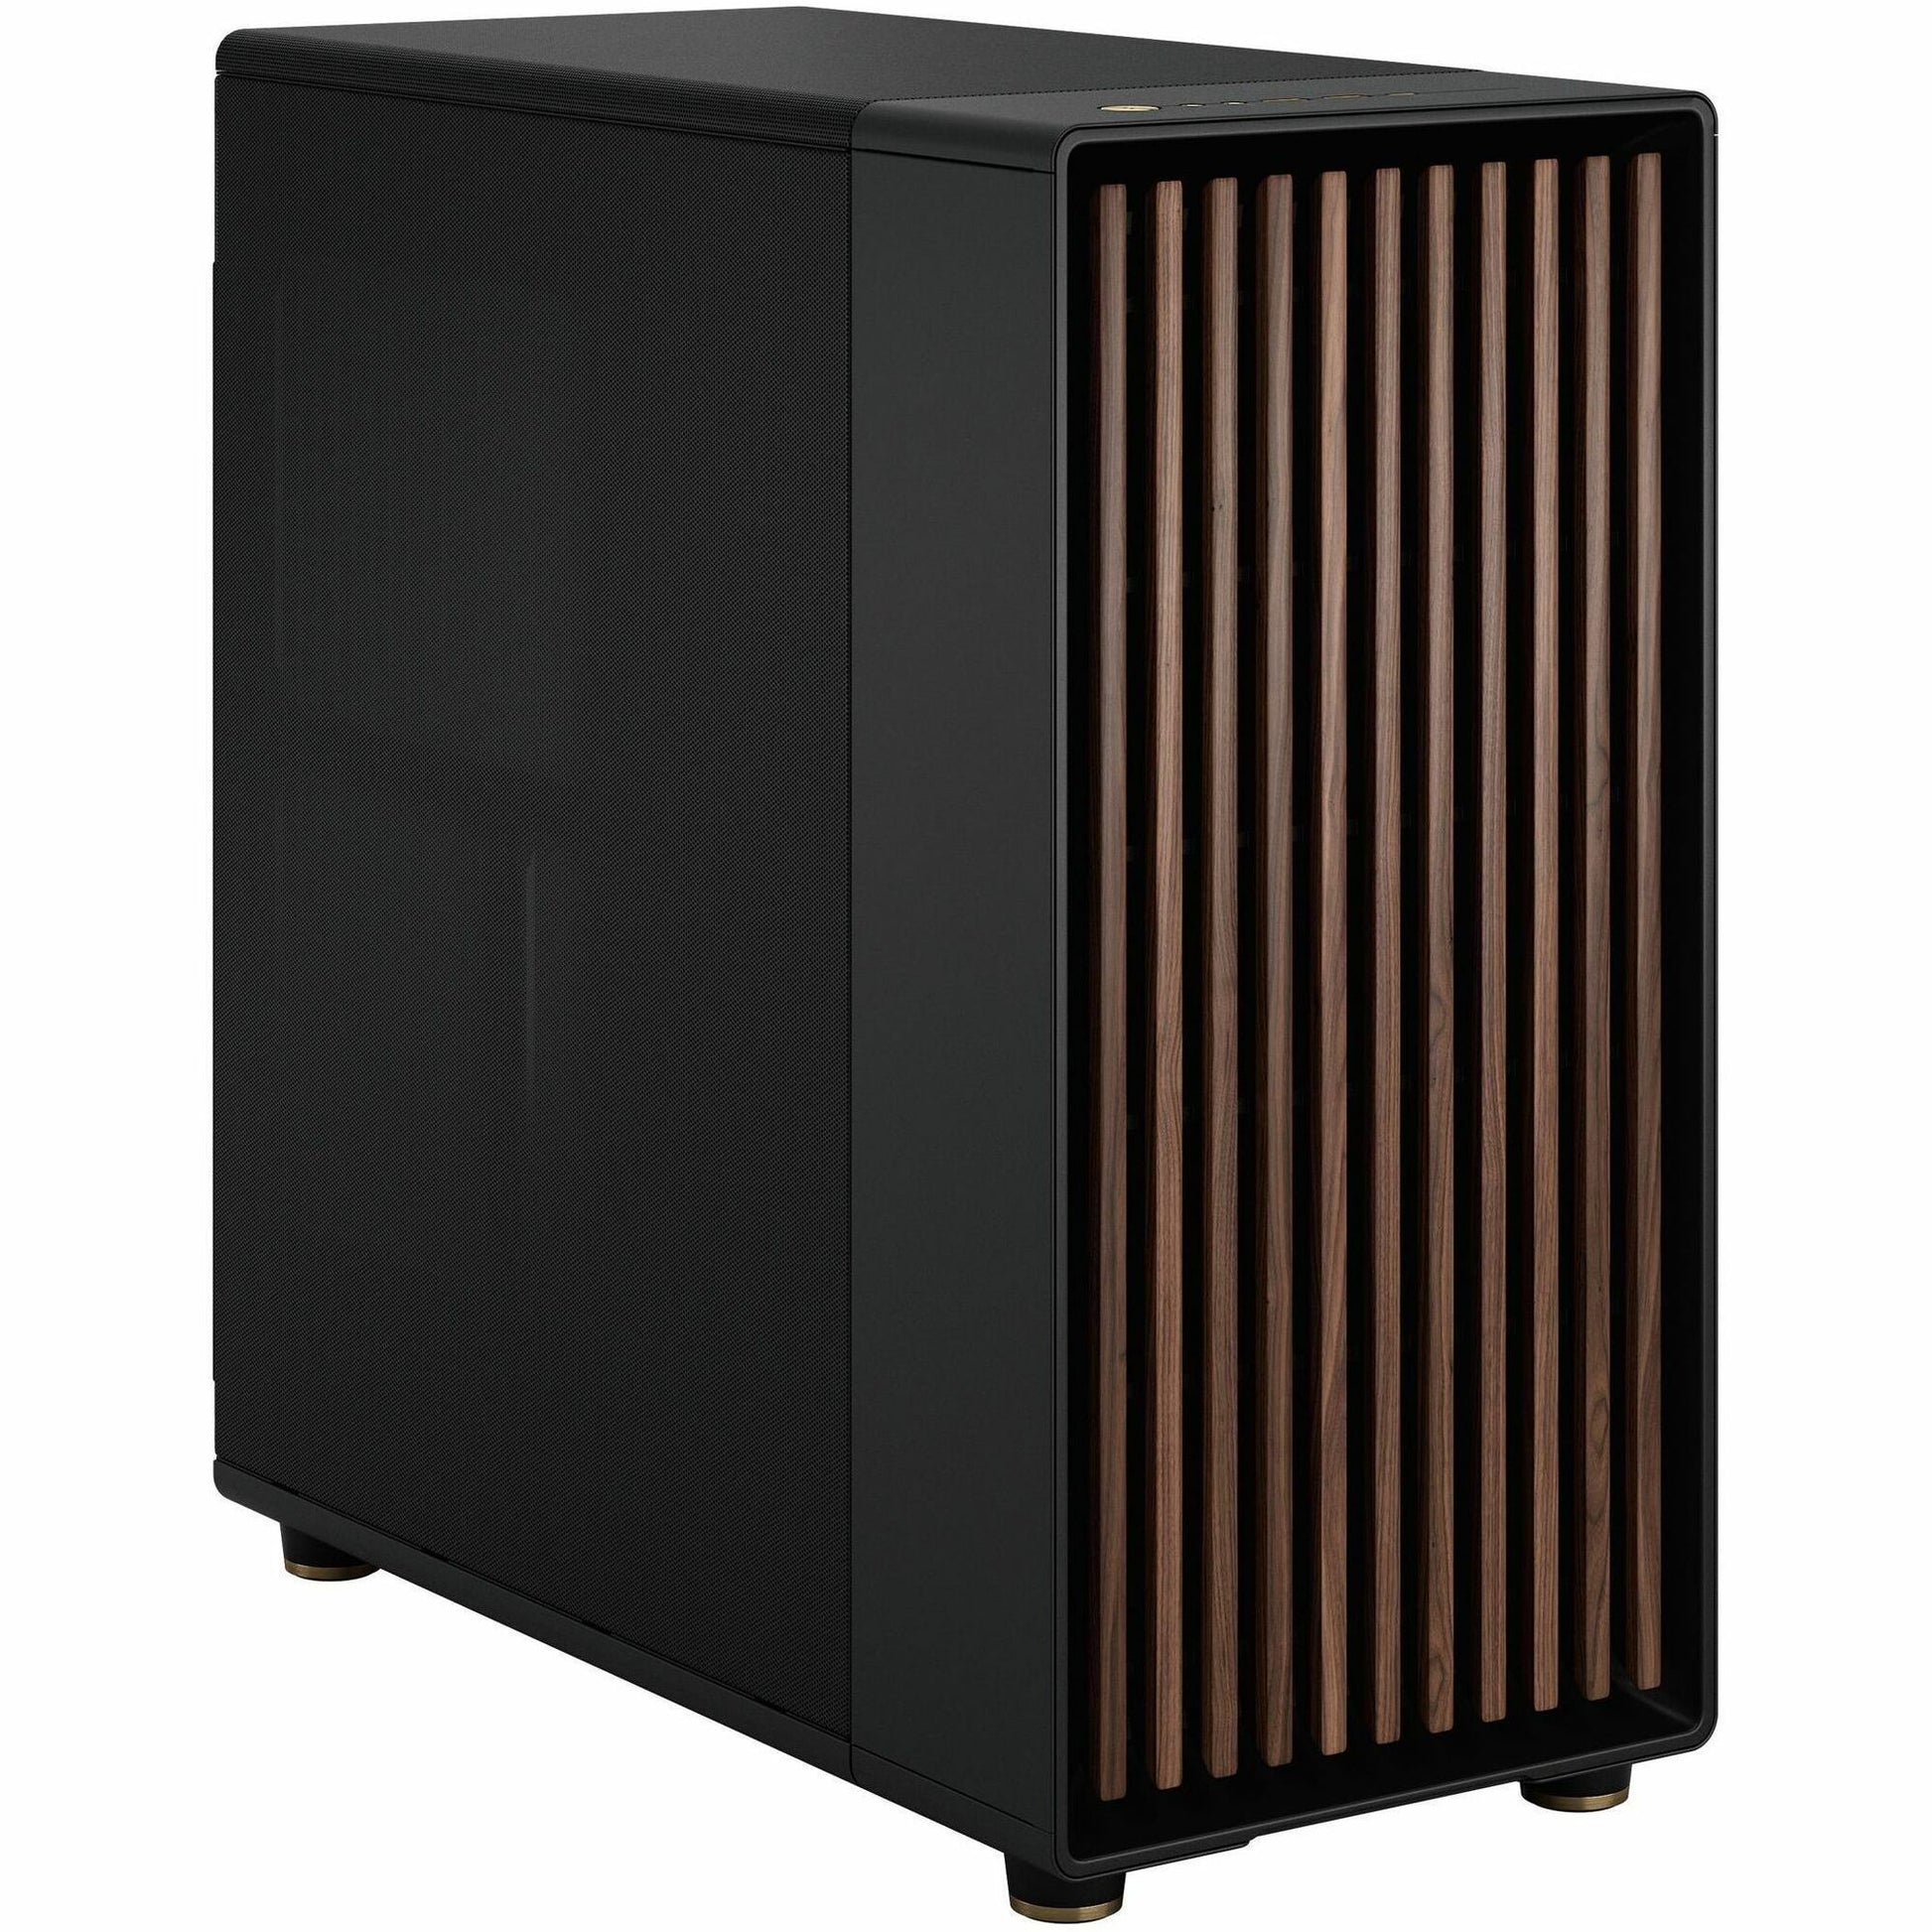
Bigger, Bolder, Better: The Fractal Design North XL
The fan-favorite North case is back and bigger than ever! The North XL takes the beloved, nature-inspired design of the original and super-sizes it to handle the most powerful gaming hardware. With more space for massive graphics cards, larger radiators, and a clean, spacious interior, it's the perfect canvas for your next high-performance build. You get all the style and quality of the North, but with the freedom to go all out with your components.
⭐ Highlights
⭐ Highlights
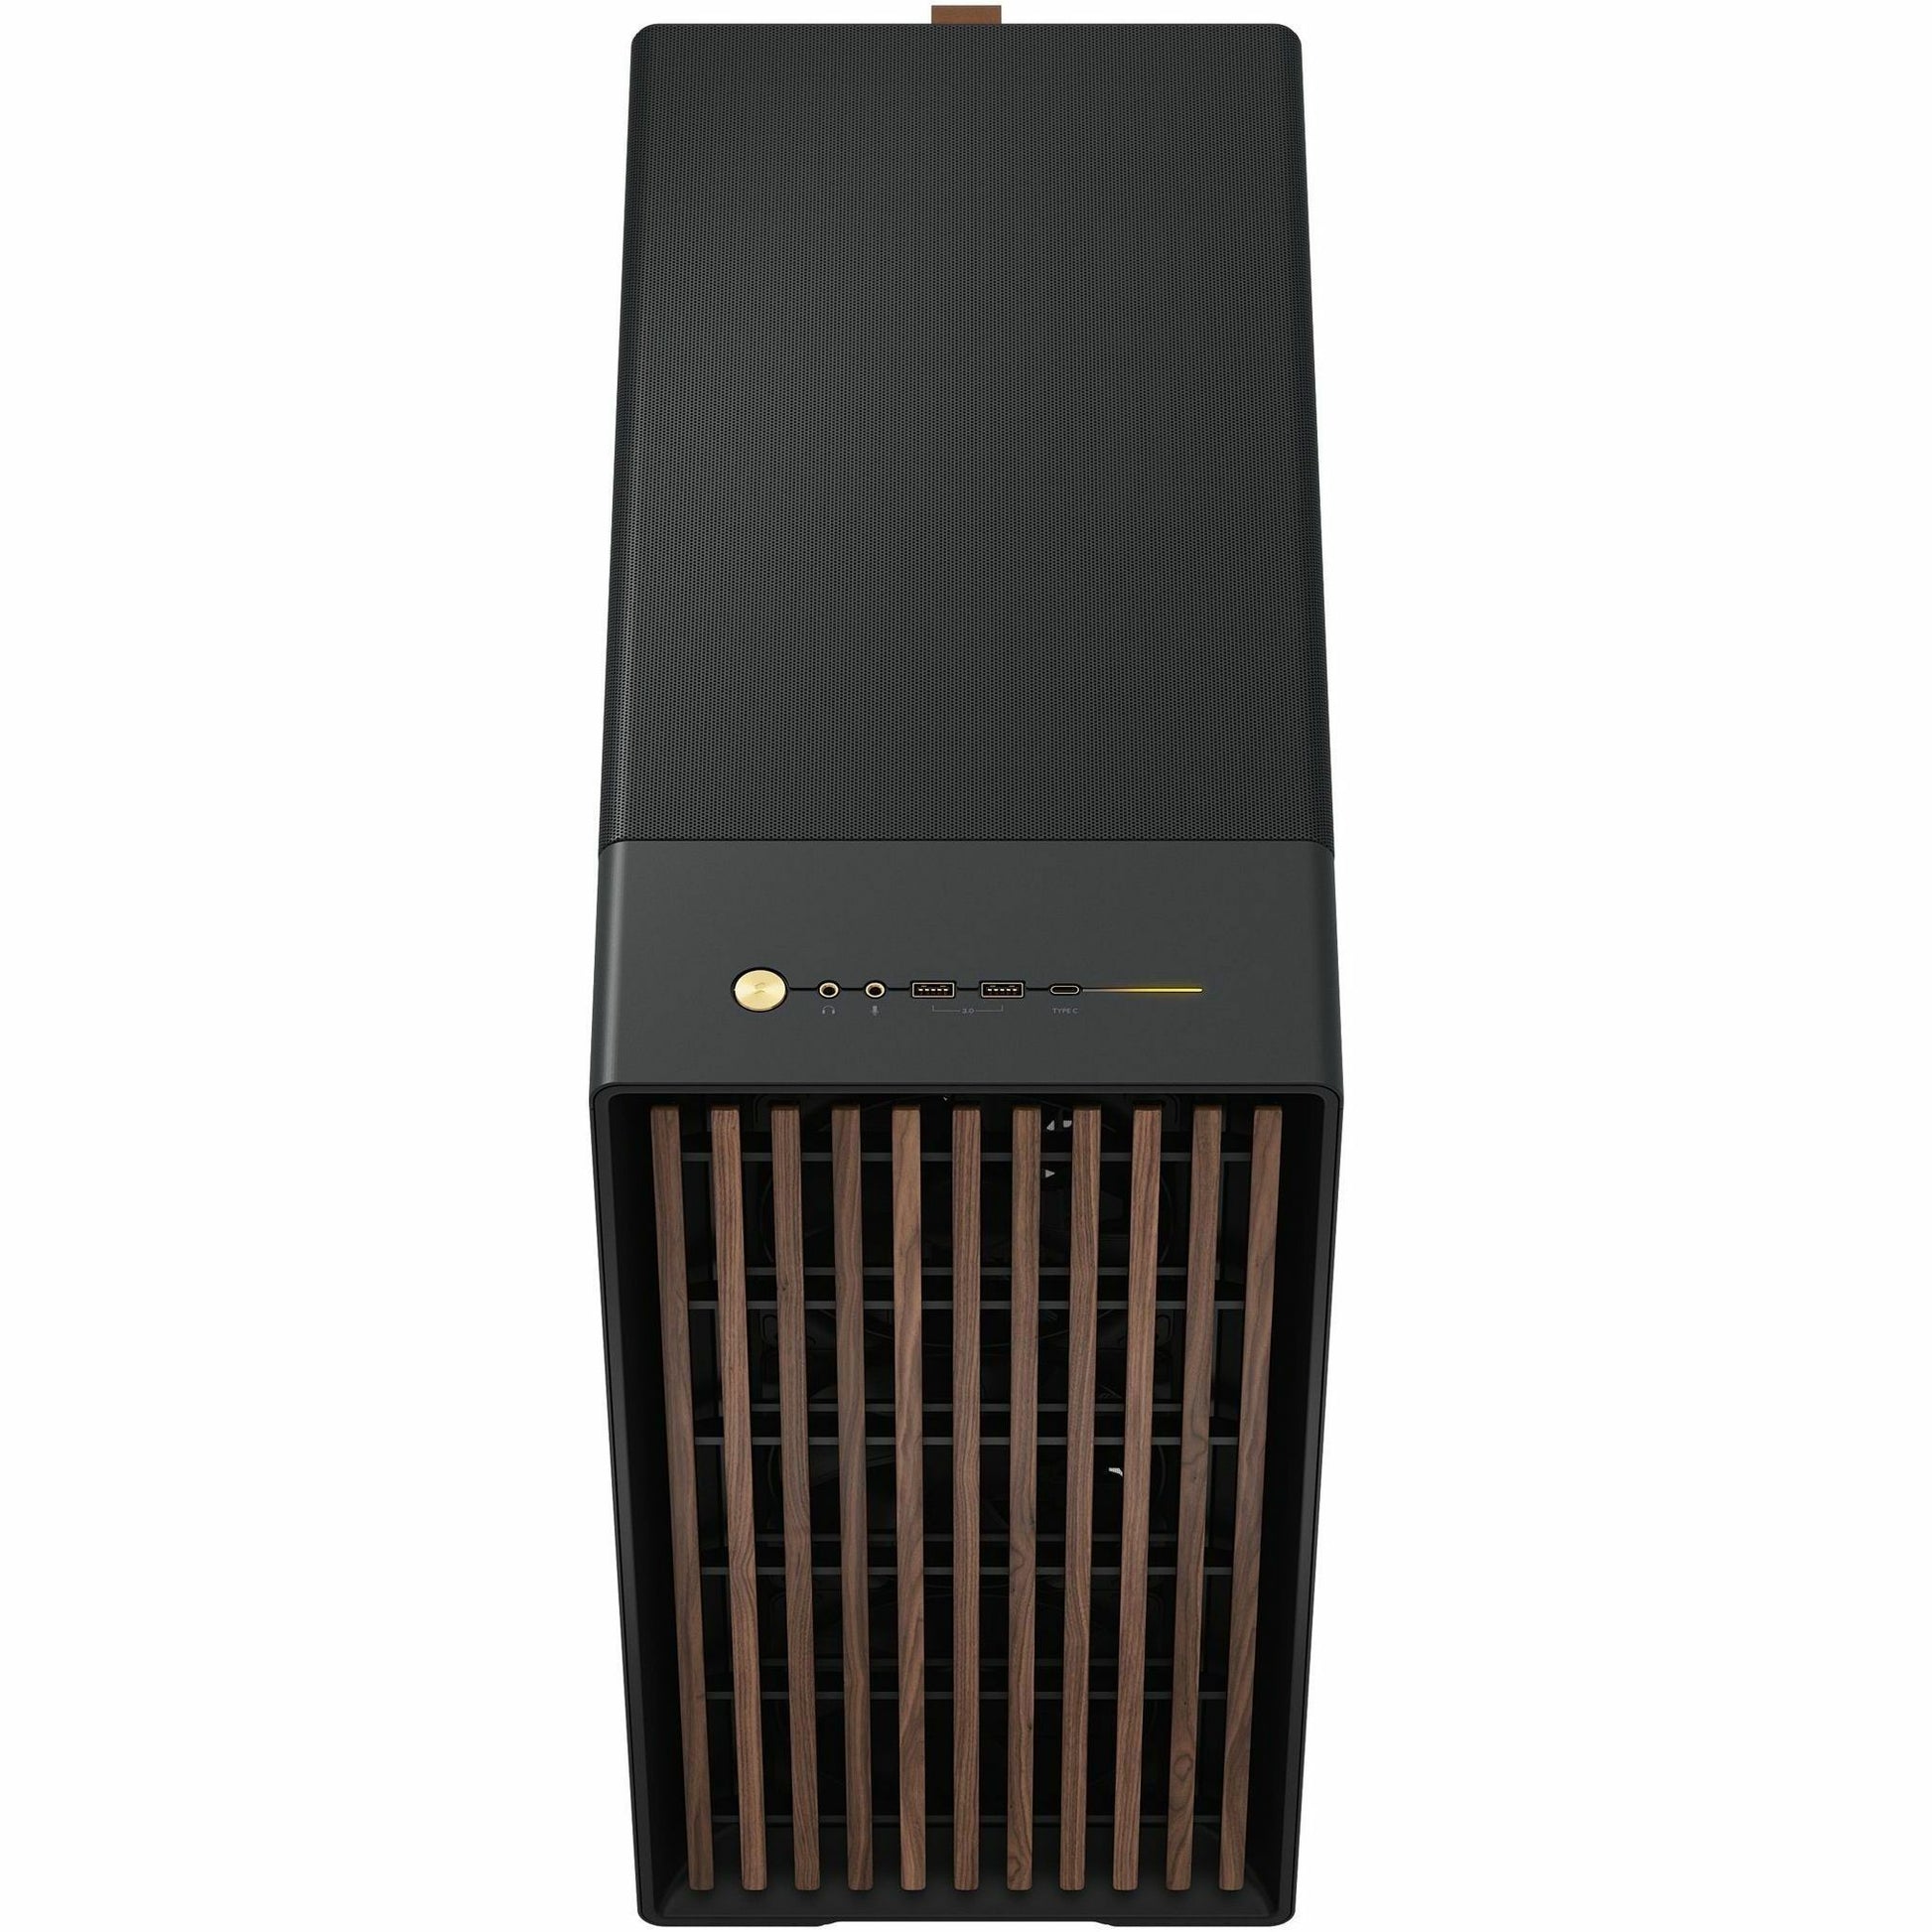
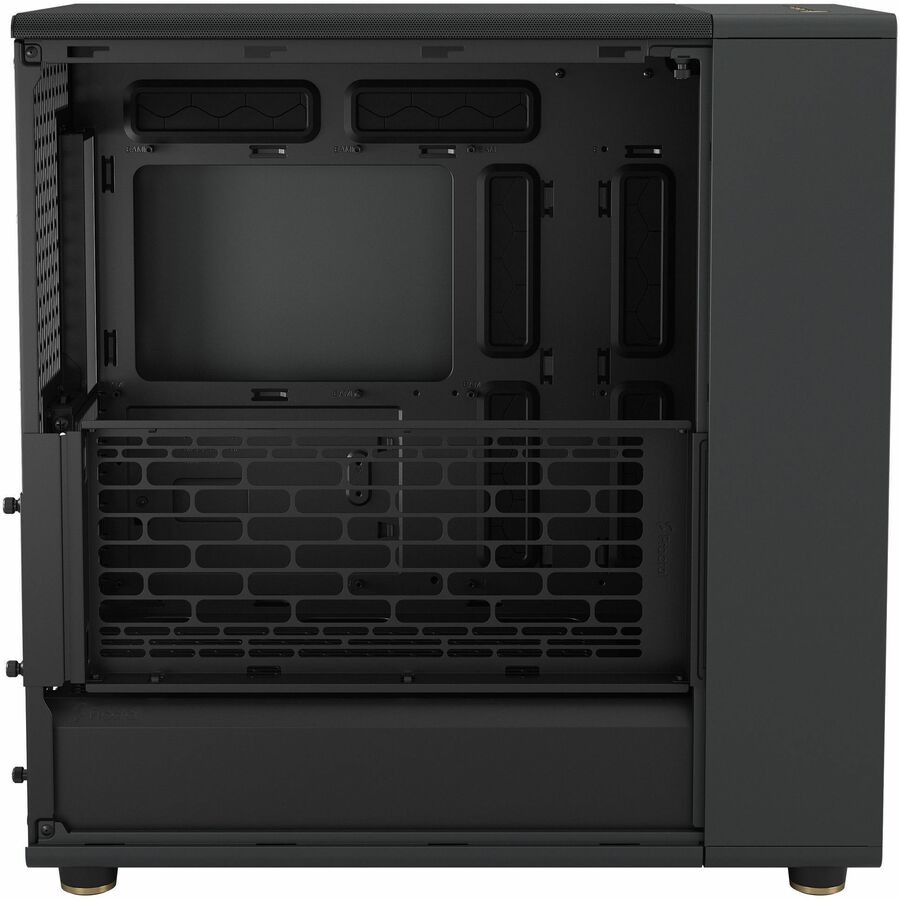
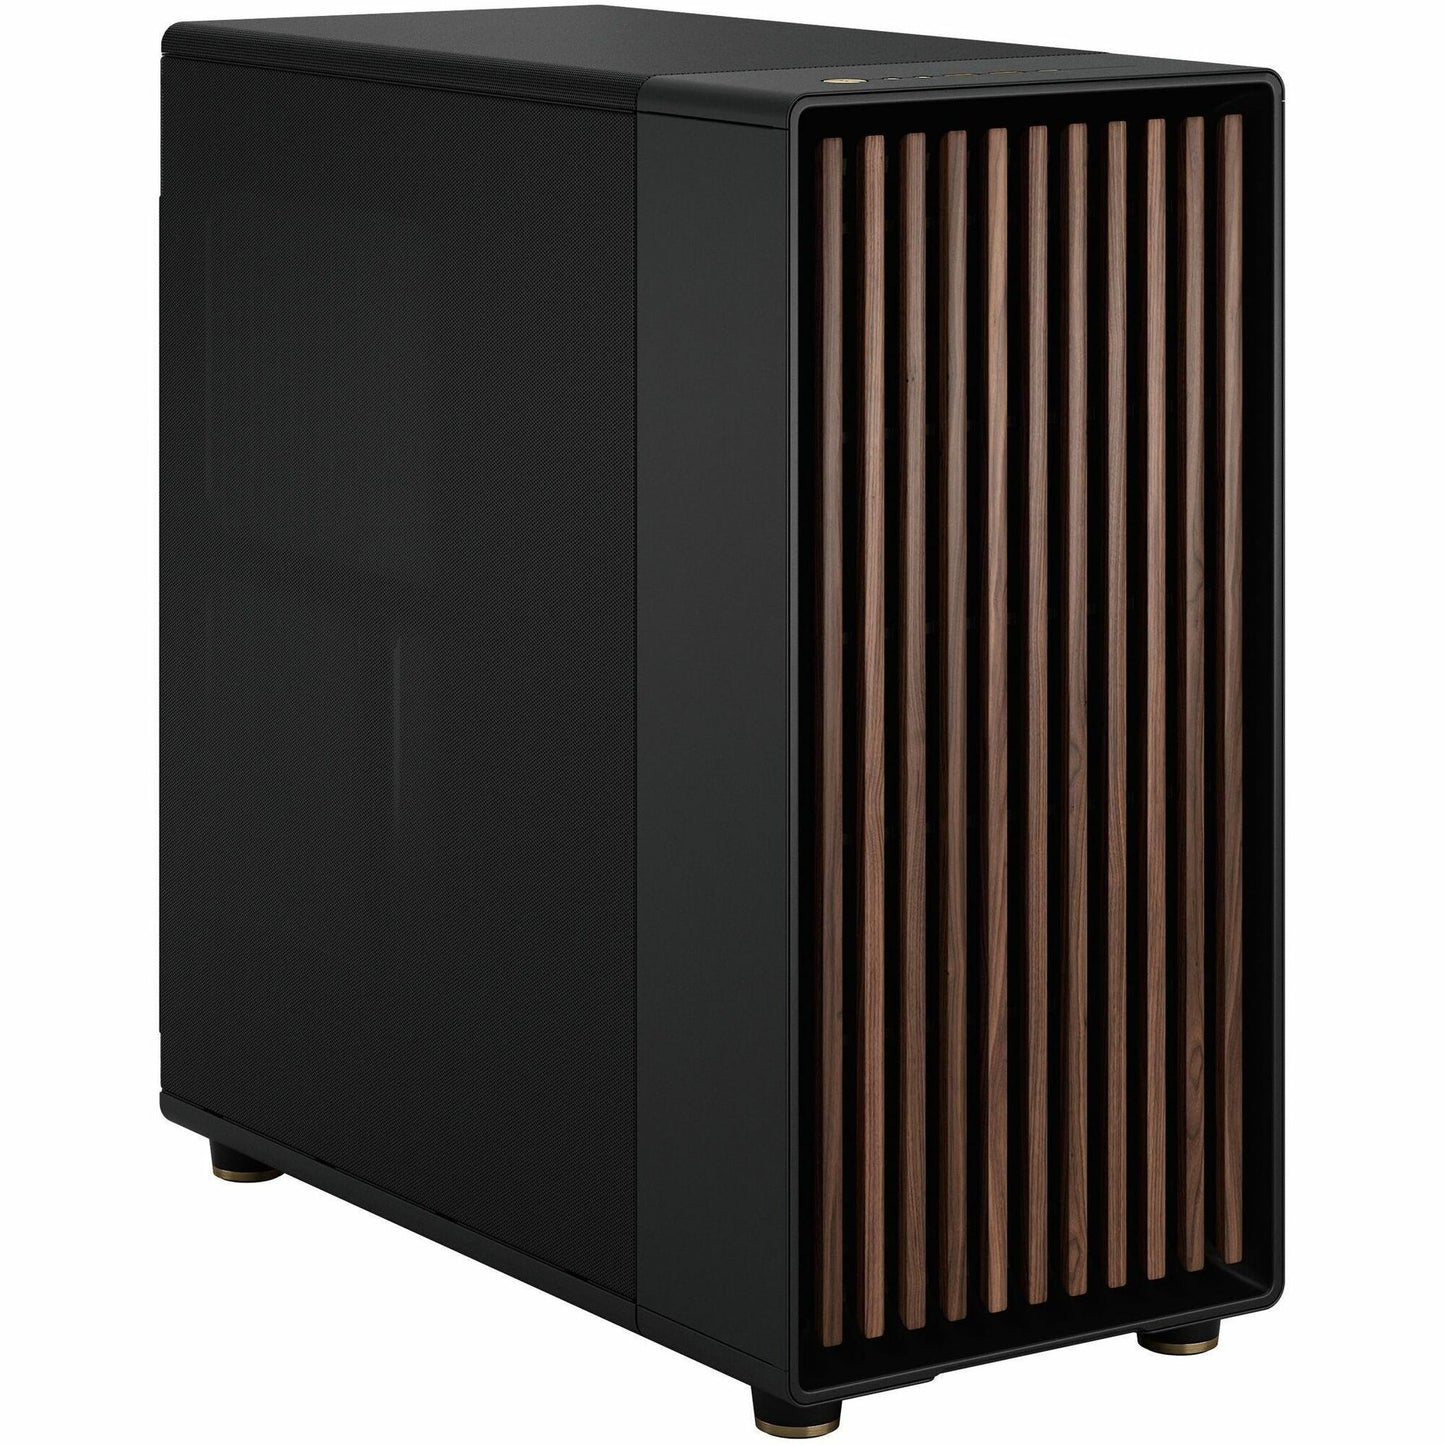
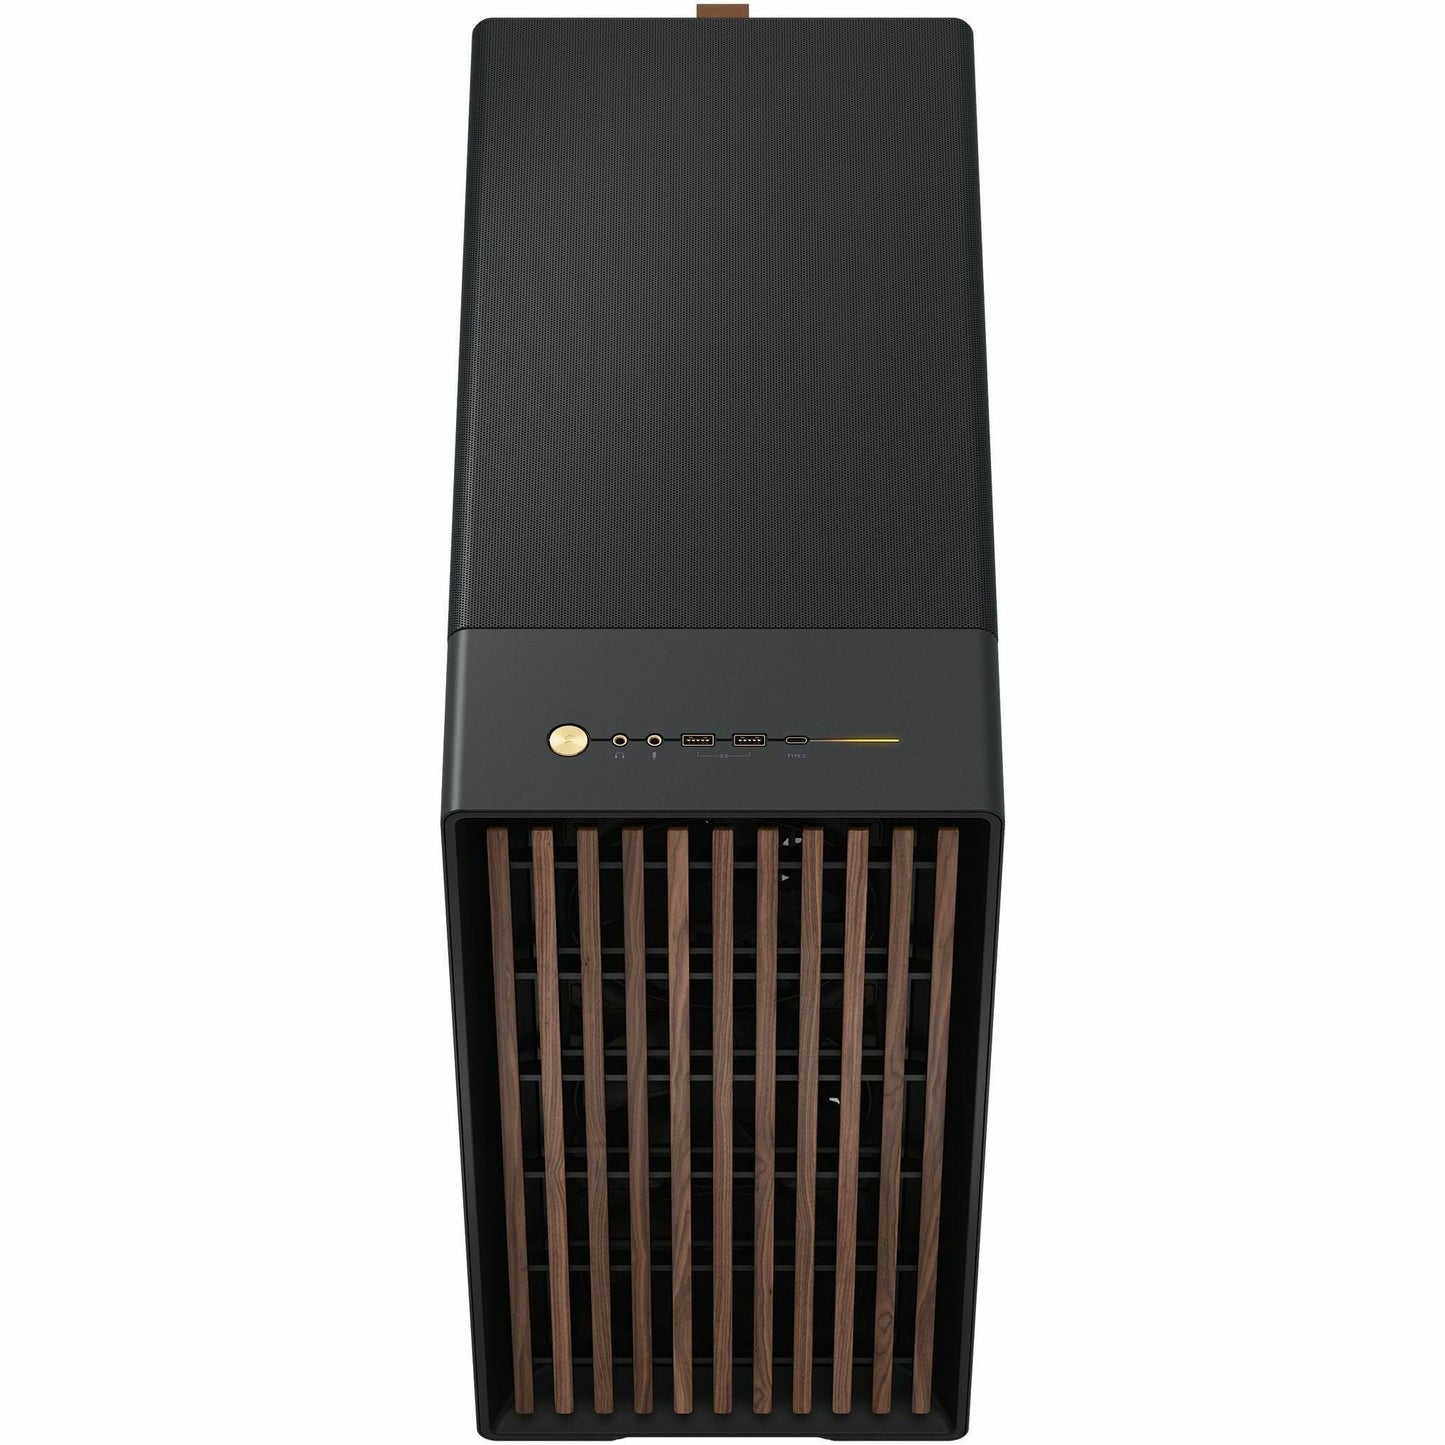
Real Wood Scandinavian Aesthetic | E-ATX Motherboard Support | Triple 140mm Aspect Fans Included | Massive 420mm Front Radiator Support | Supports Long 400mm+ GPUs
⚙️ Specifications
⚙️ Specifications
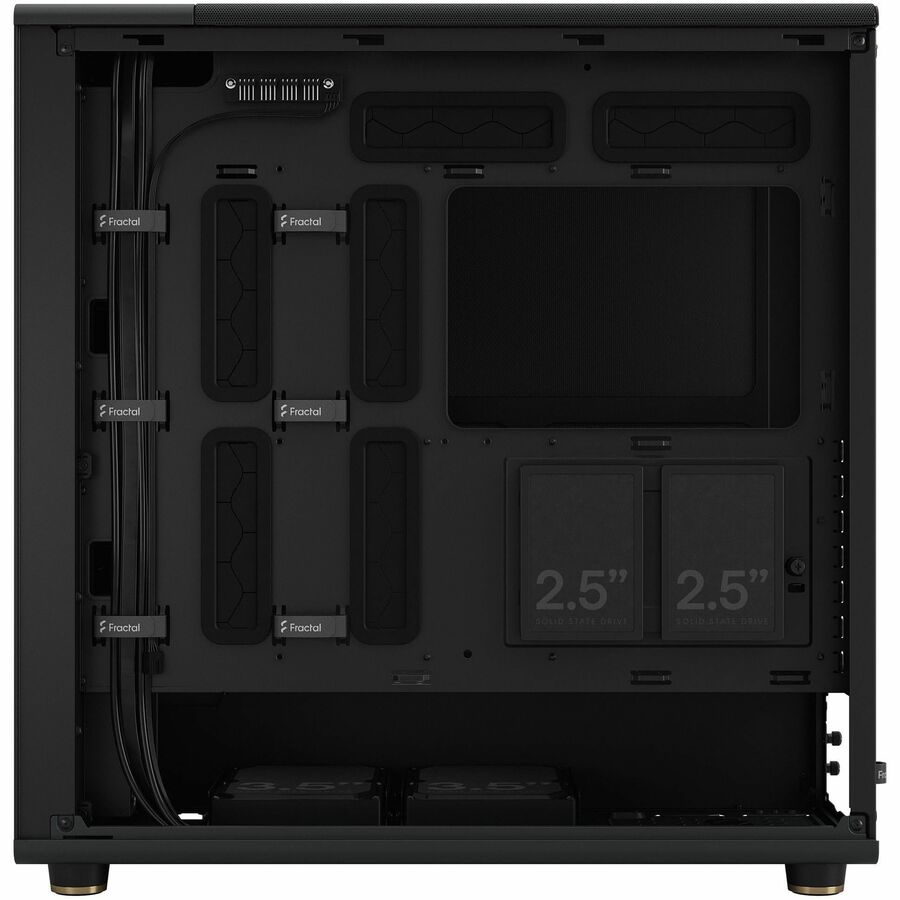
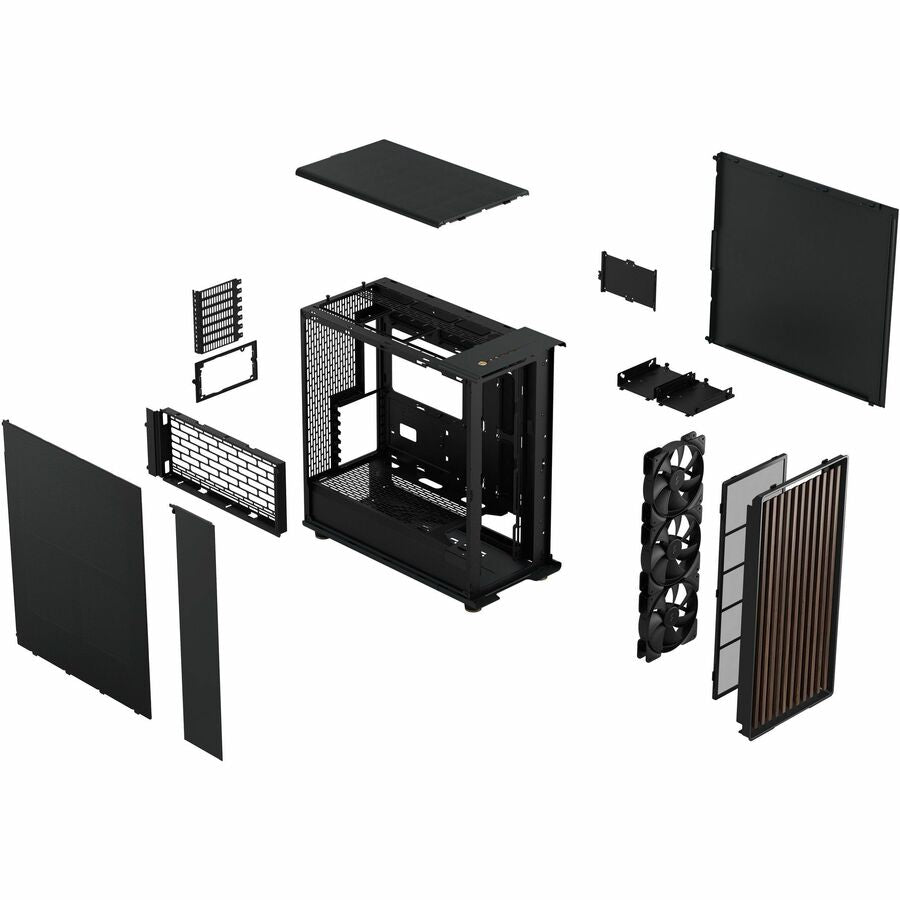
Case Form Factor: Full-Tower (Full-Tower/E-ATX Tower)
Motherboard Compatibility: E-ATX, ATX, Micro-ATX, Mini-ITX
Case Dimensions: 509 x 240 x 503 mm (H x W x D)
Max GPU Length: 413 mm
Max CPU Cooler Height: 185 mm
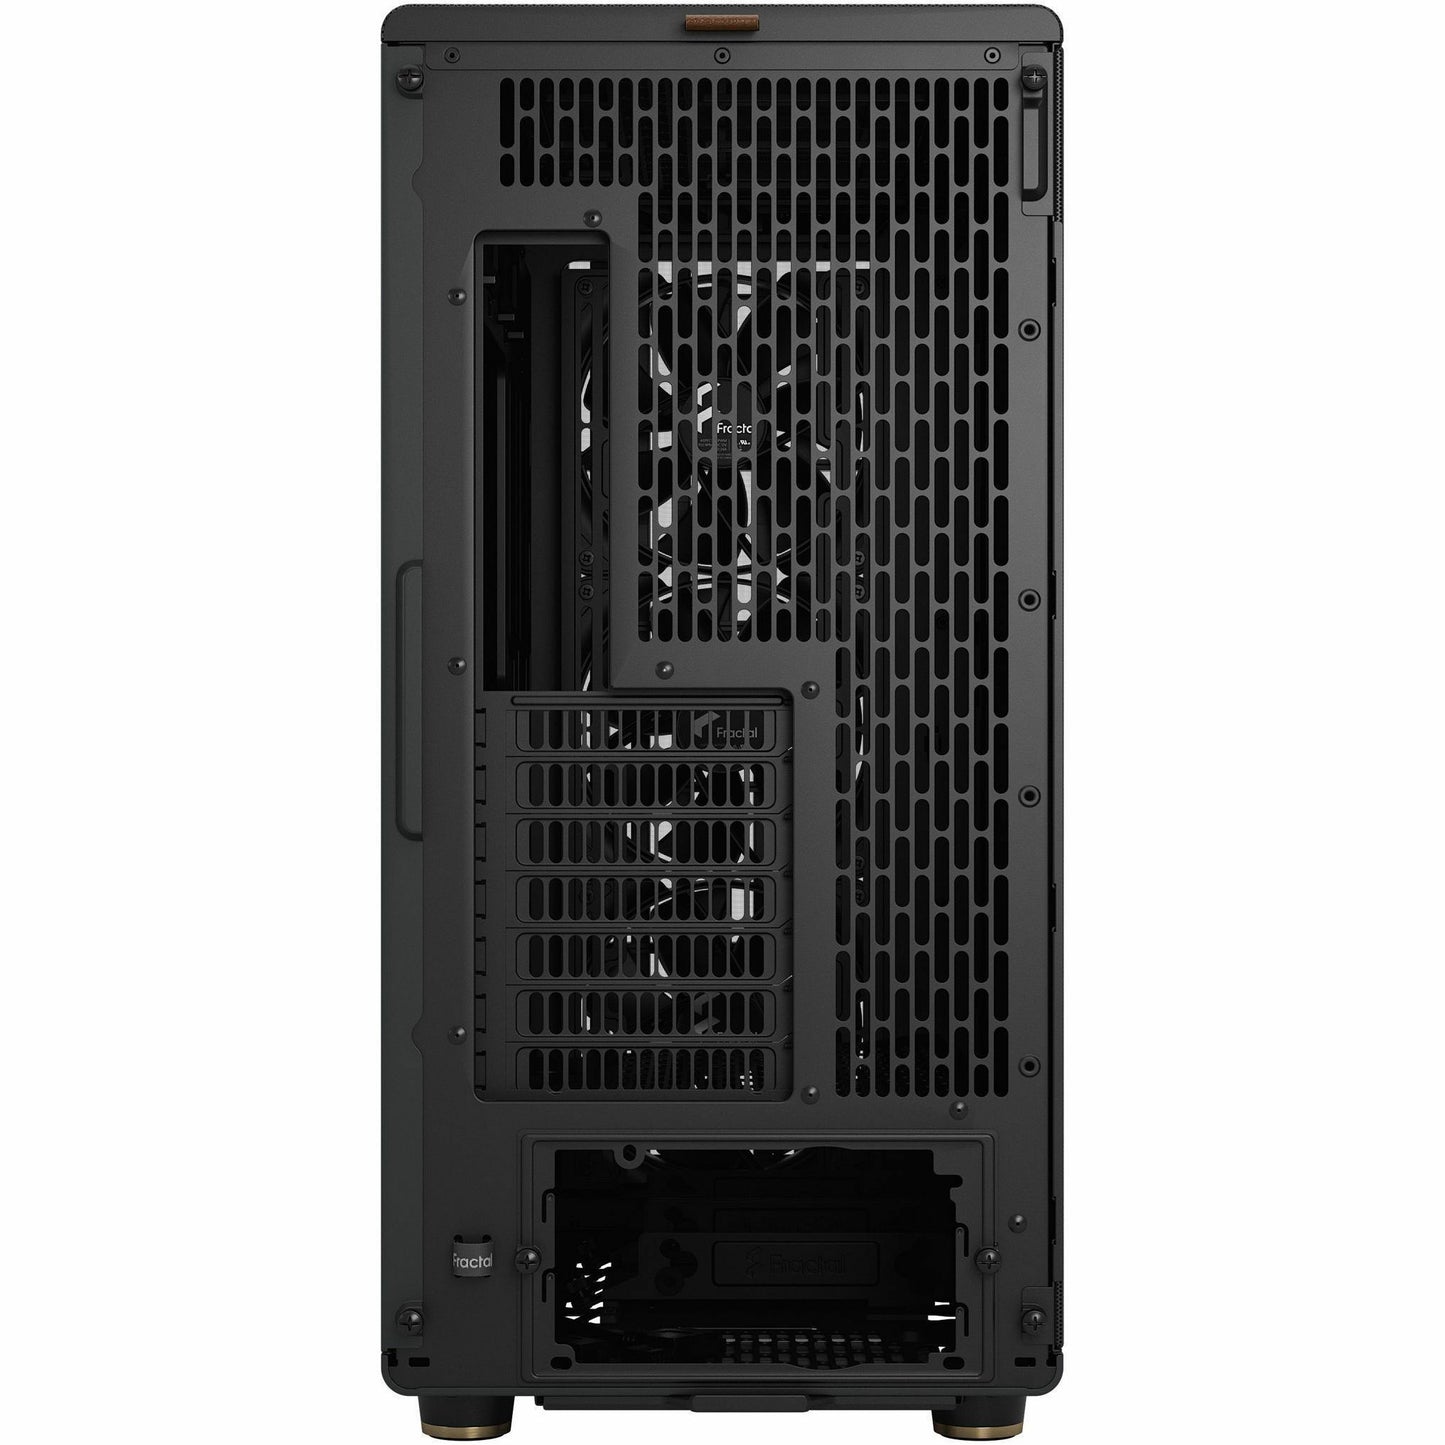
Radiator Support: Front: 420mm / 360mm, Top: 360mm / 280mm, Rear: 120mm / 140mm
Drive Bays: 2 x 3.5" HDD, 2 x 2.5" SSD
Fan Support: Front: 3 x 140mm or 3 x 120mm, Top: 3 x 140mm or 3 x 120mm, Rear: 1 x 140mm or 1 x 120mm
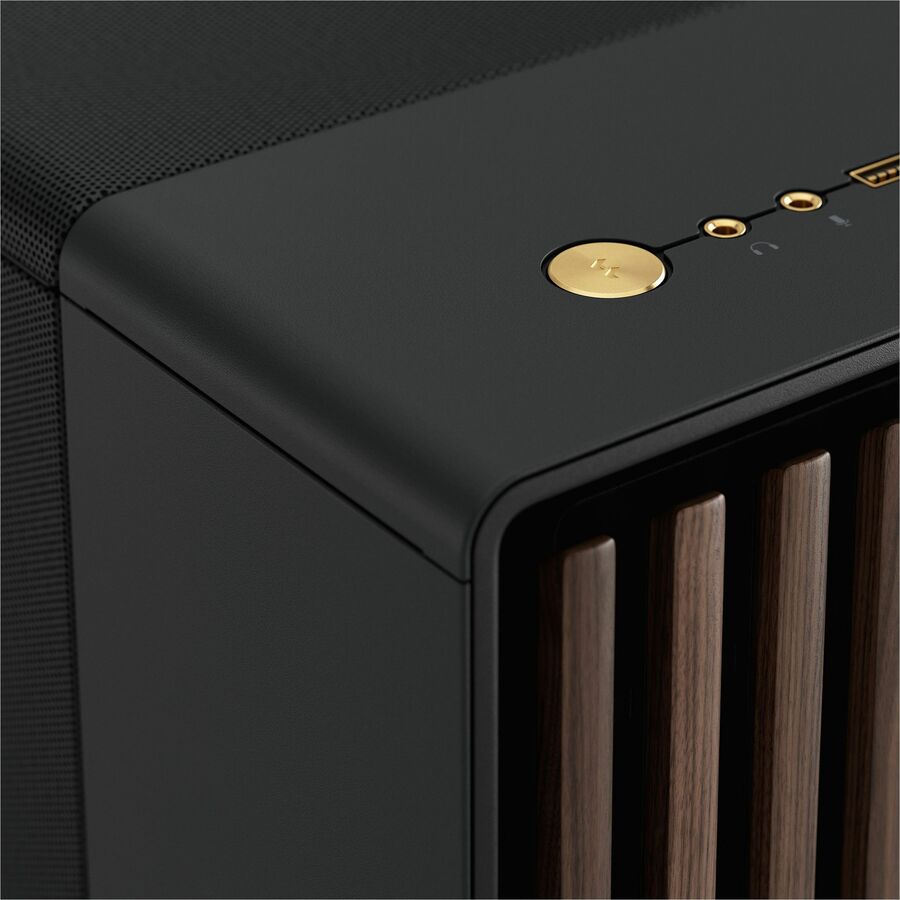
Front Panel I/O: 1 x USB-C, 2 x USB 3.0, Headphone/Mic combo jack
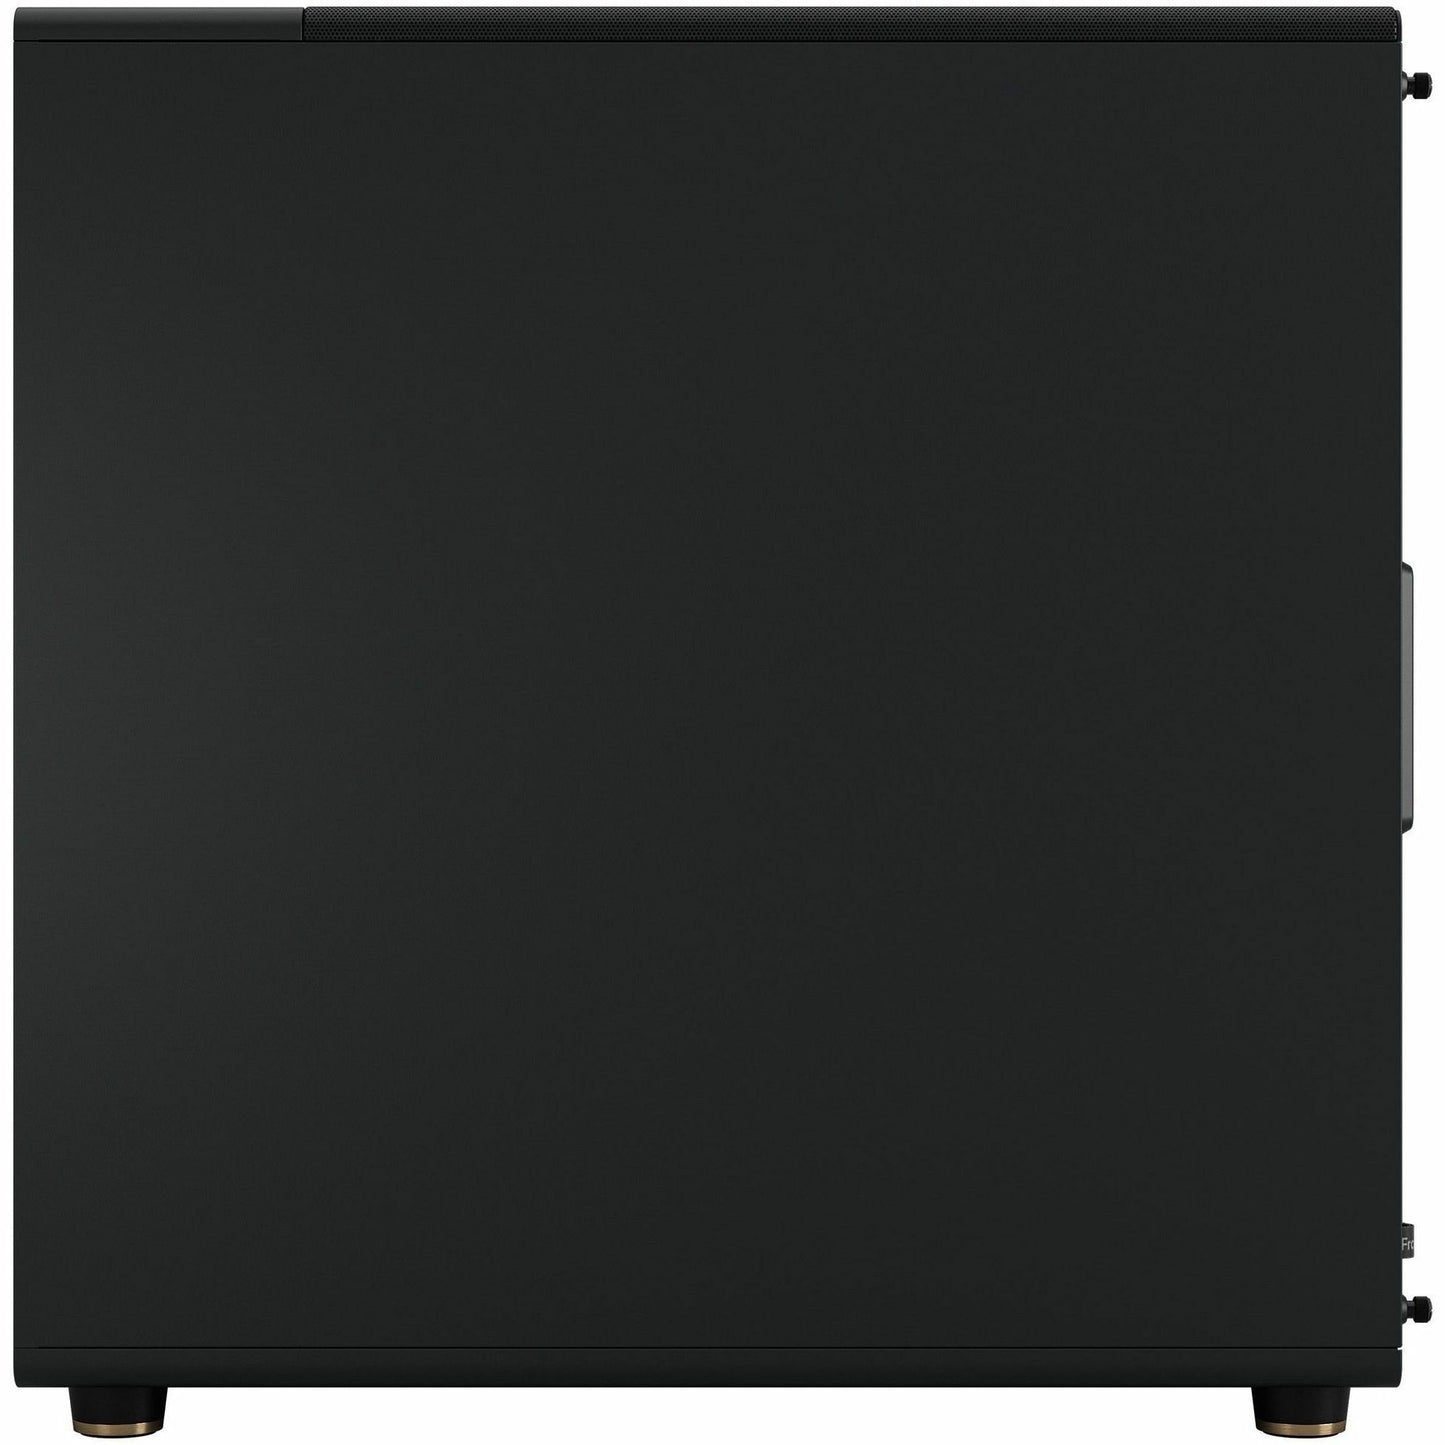
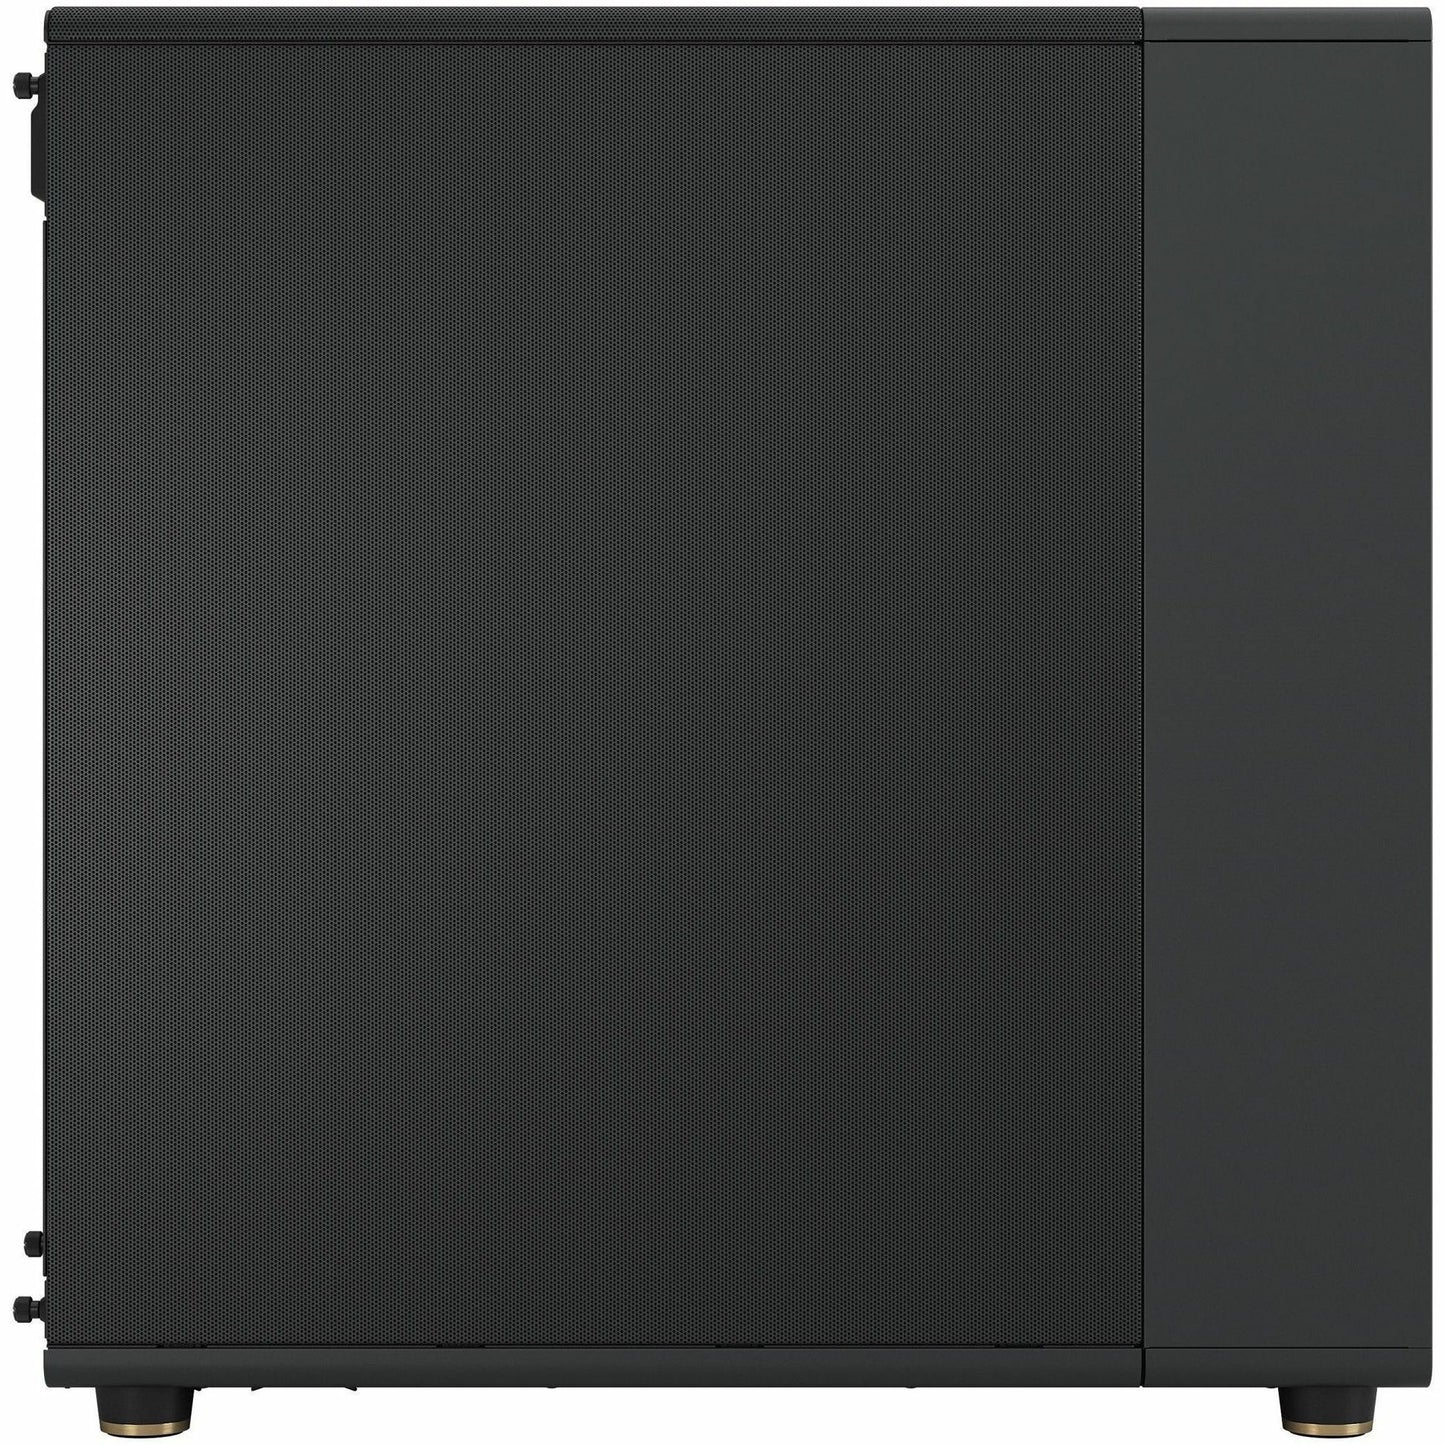
Case Material: Steel, Tempered Glass, Wood
Side Panel Type: Tempered Glass
Included Fans: 3 x 140mm PWM Fans
Share


The POST-Check Protocol
-
Component Clearance
Action: Double-check the case's specifications for maximum GPU length, CPU cooler height, and radiator support before purchasing any part. Why: These are fixed limitations; if your CPU cooler is too tall or your GPU is too long, the side panel won't close or the components will physically block installation.
-
Standoff Alignment
Action: Verify the case has motherboard standoffs installed only in the locations that correspond to the holes on your specific motherboard (ATX, Micro-ATX, etc.). Why: Incorrectly placed standoffs can touch the back of the motherboard and cause a disastrous electrical short when the system is powered on.
-
I/O Panel Installation
Action: If the case uses a removable I/O shield (not pre-installed on the motherboard), snap it into the casebefore mounting the motherboard. Why: This is a common beginner mistake that forces you to remove the entire motherboard just to fit a small metal plate.
-
Airflow Pathway
Action: Follow the simple rule: Intake fans at the front/bottom draw cool air in, and Exhaust fans at the rear/top push hot air out. Why: A balanced, directed airflow path is the single most important factor for overall system temperature and long-term component health.
-
PSU Fan Direction
Action: When mounting the Power Supply Unit (PSU) at the bottom of the case, ensure its fan is facing downward toward the case's dust filter and external vent. Why: This configuration allows the PSU to pull cool, filtered air directly from outside the case, keeping its own temperature low and promoting overall case airflow.
-
Front Panel Headers
Action: Use the motherboard manual to correctly connect the tiny Front Panel Header cables (Power Button, Reset, USB, Audio) to the correct pins on the motherboard. Why: These small cables are essential for powering the system on and are often confusingly labeled, but the manual is the only sure guide for proper function.