
Cooler Master Hyper 212 Pro ARGB
Cooler Master Hyper 212 Pro ARGB
Couldn't load pickup availability
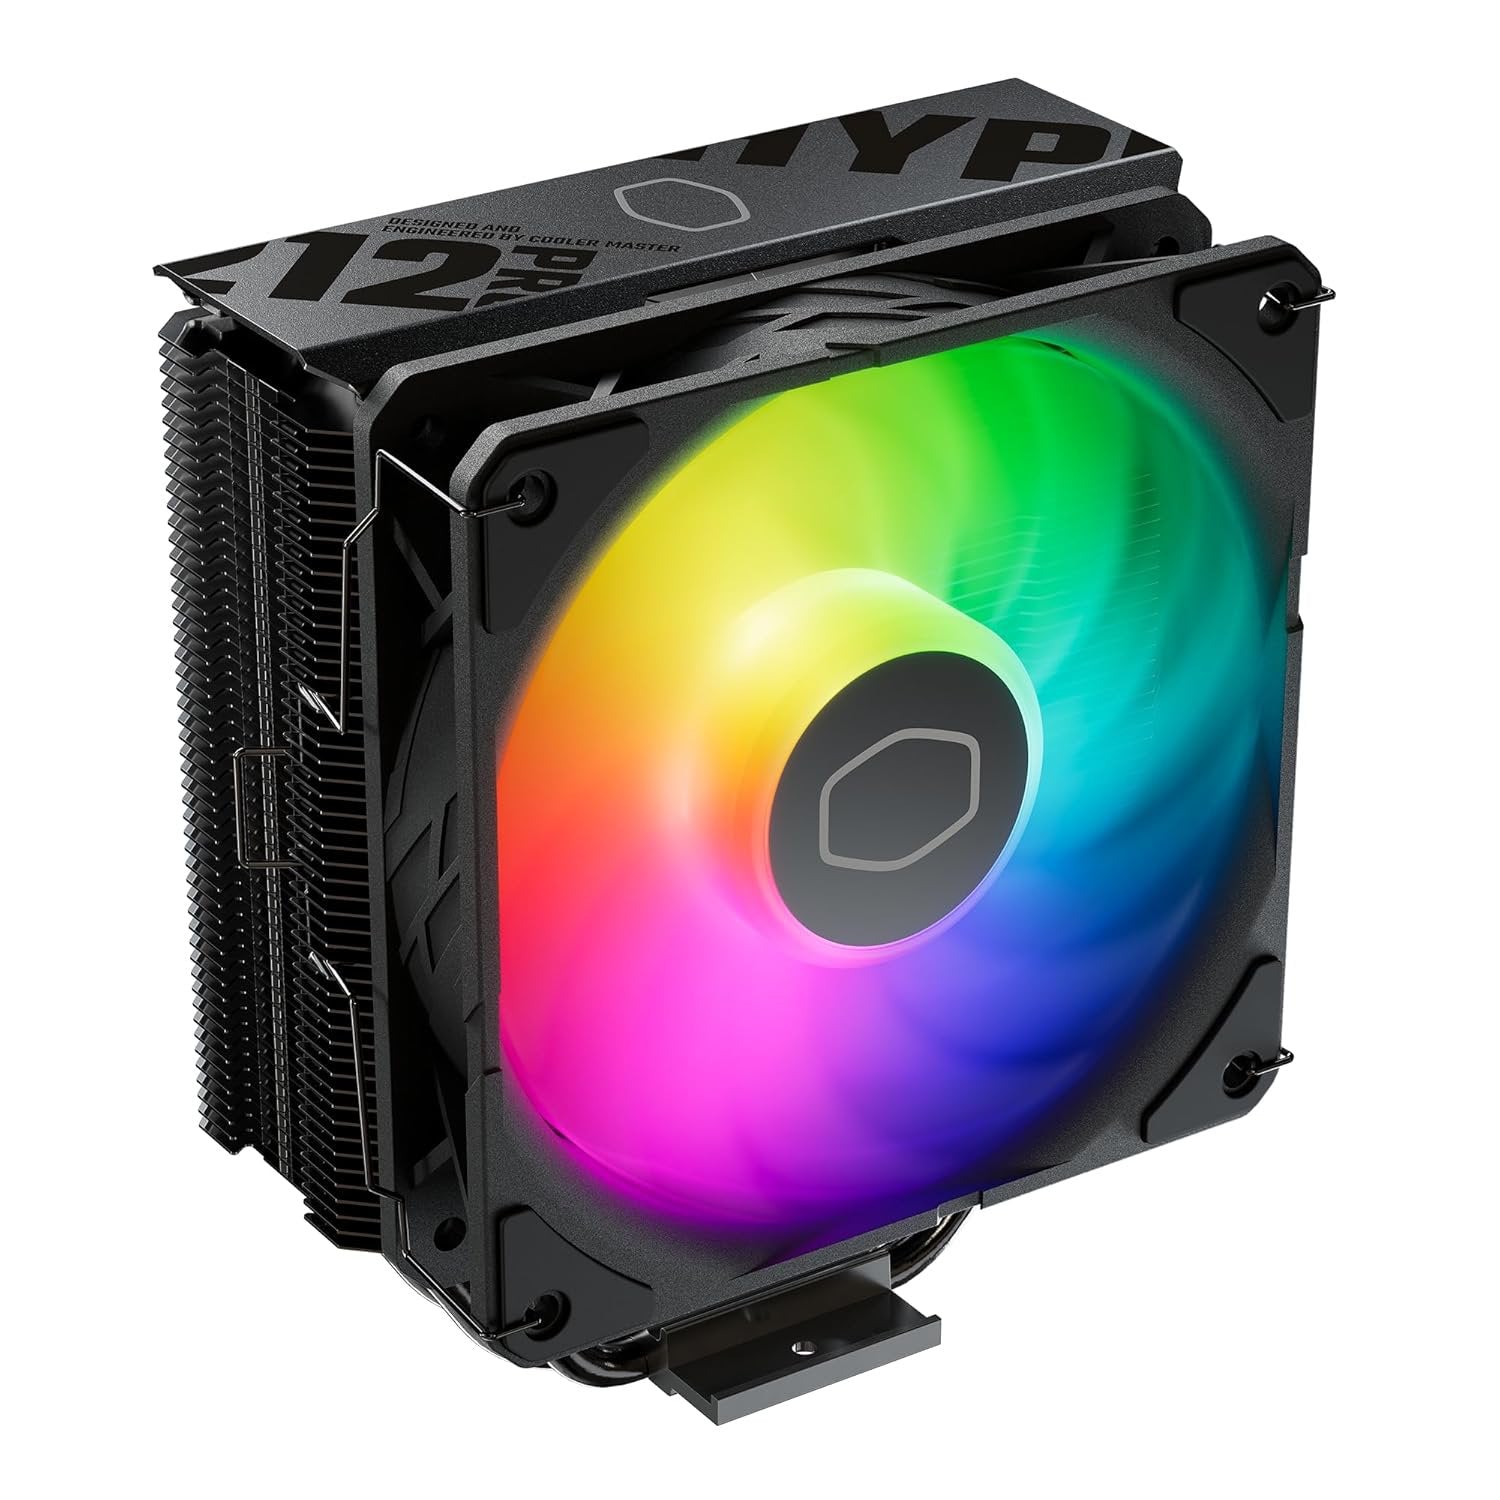
The Pro-Level Cooler: Cooler Master Hyper 212 Pro ARGB
The Cooler Master Hyper 212 Pro ARGB takes a legendary cooler and supercharges it with upgraded performance and eye-catching lighting. This fan is designed to keep your CPU running cool and quiet, even during intense gaming sessions. With its vibrant ARGB lighting, you can customize the colors to match your build's style. It's the perfect choice for builders who want a classic, reliable cooler with a modern, high-performance twist.
⭐ Highlights
⭐ Highlights
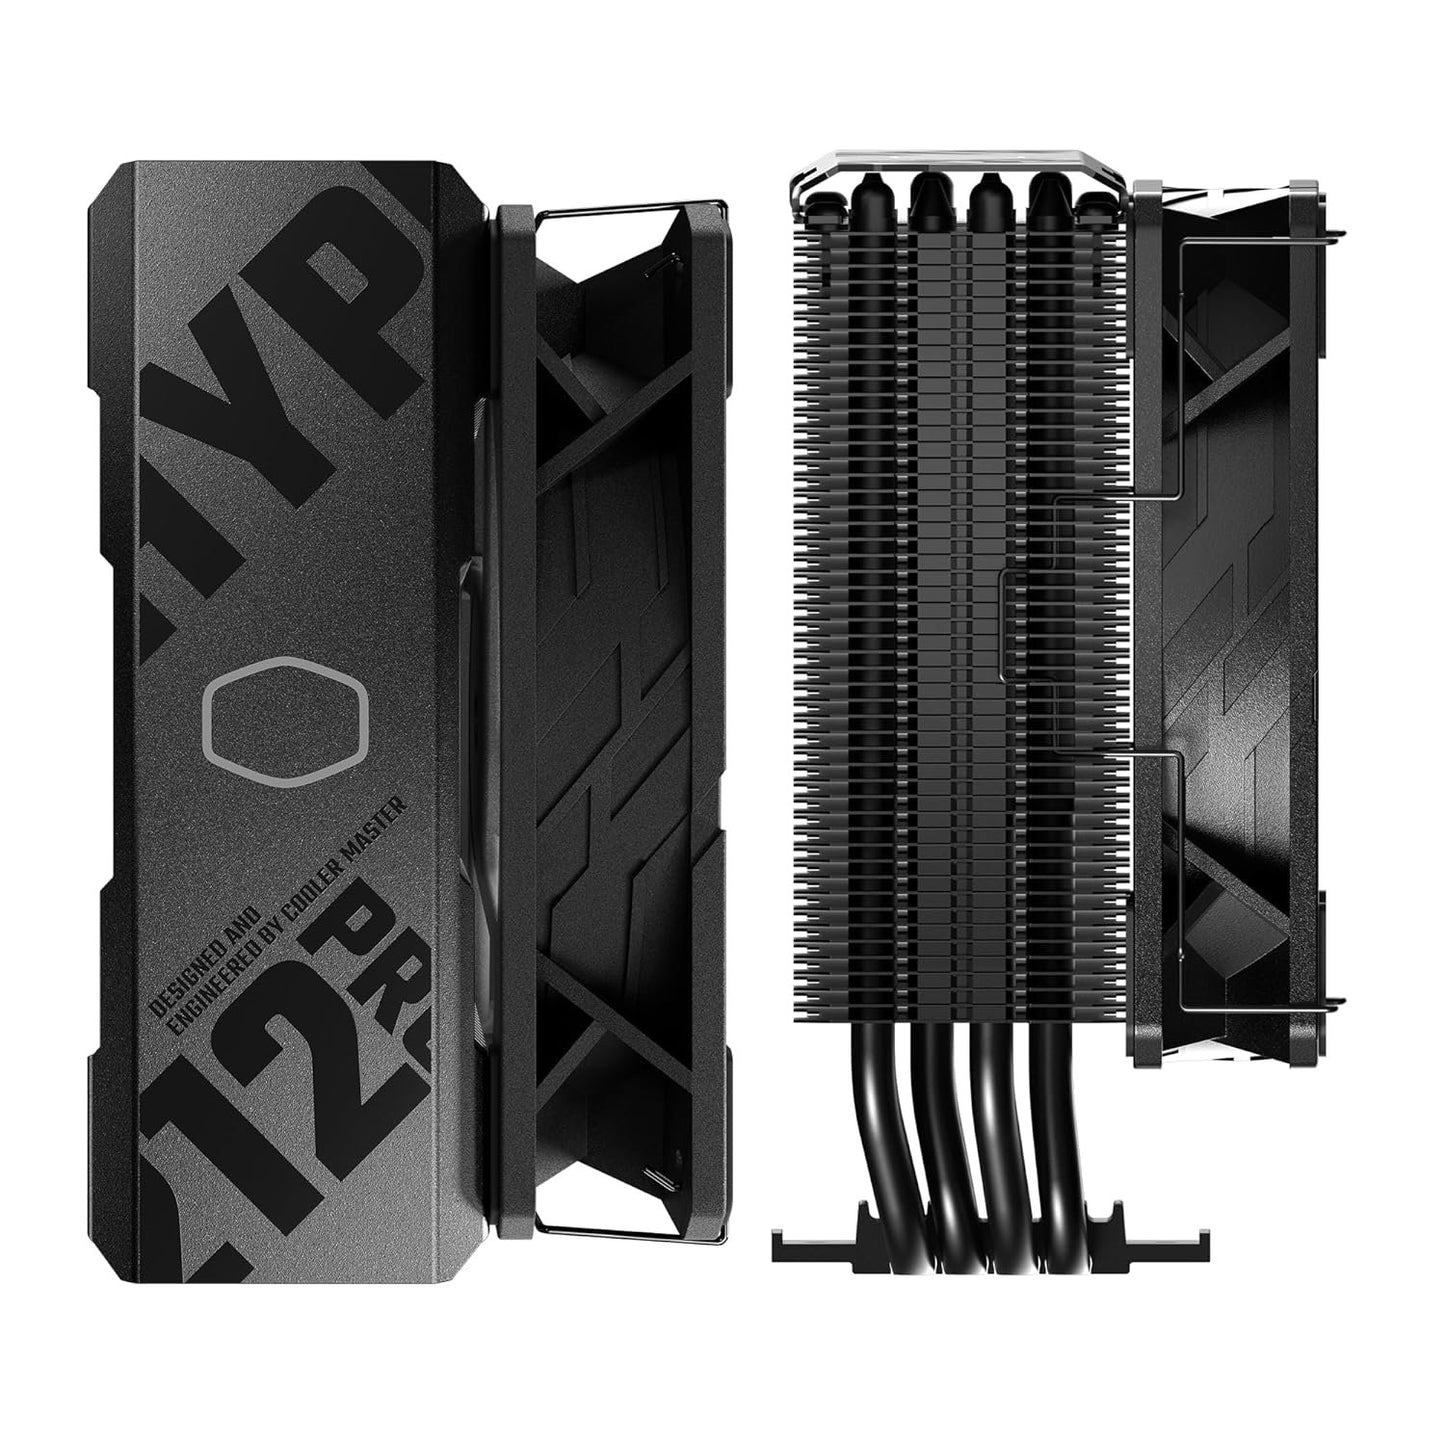
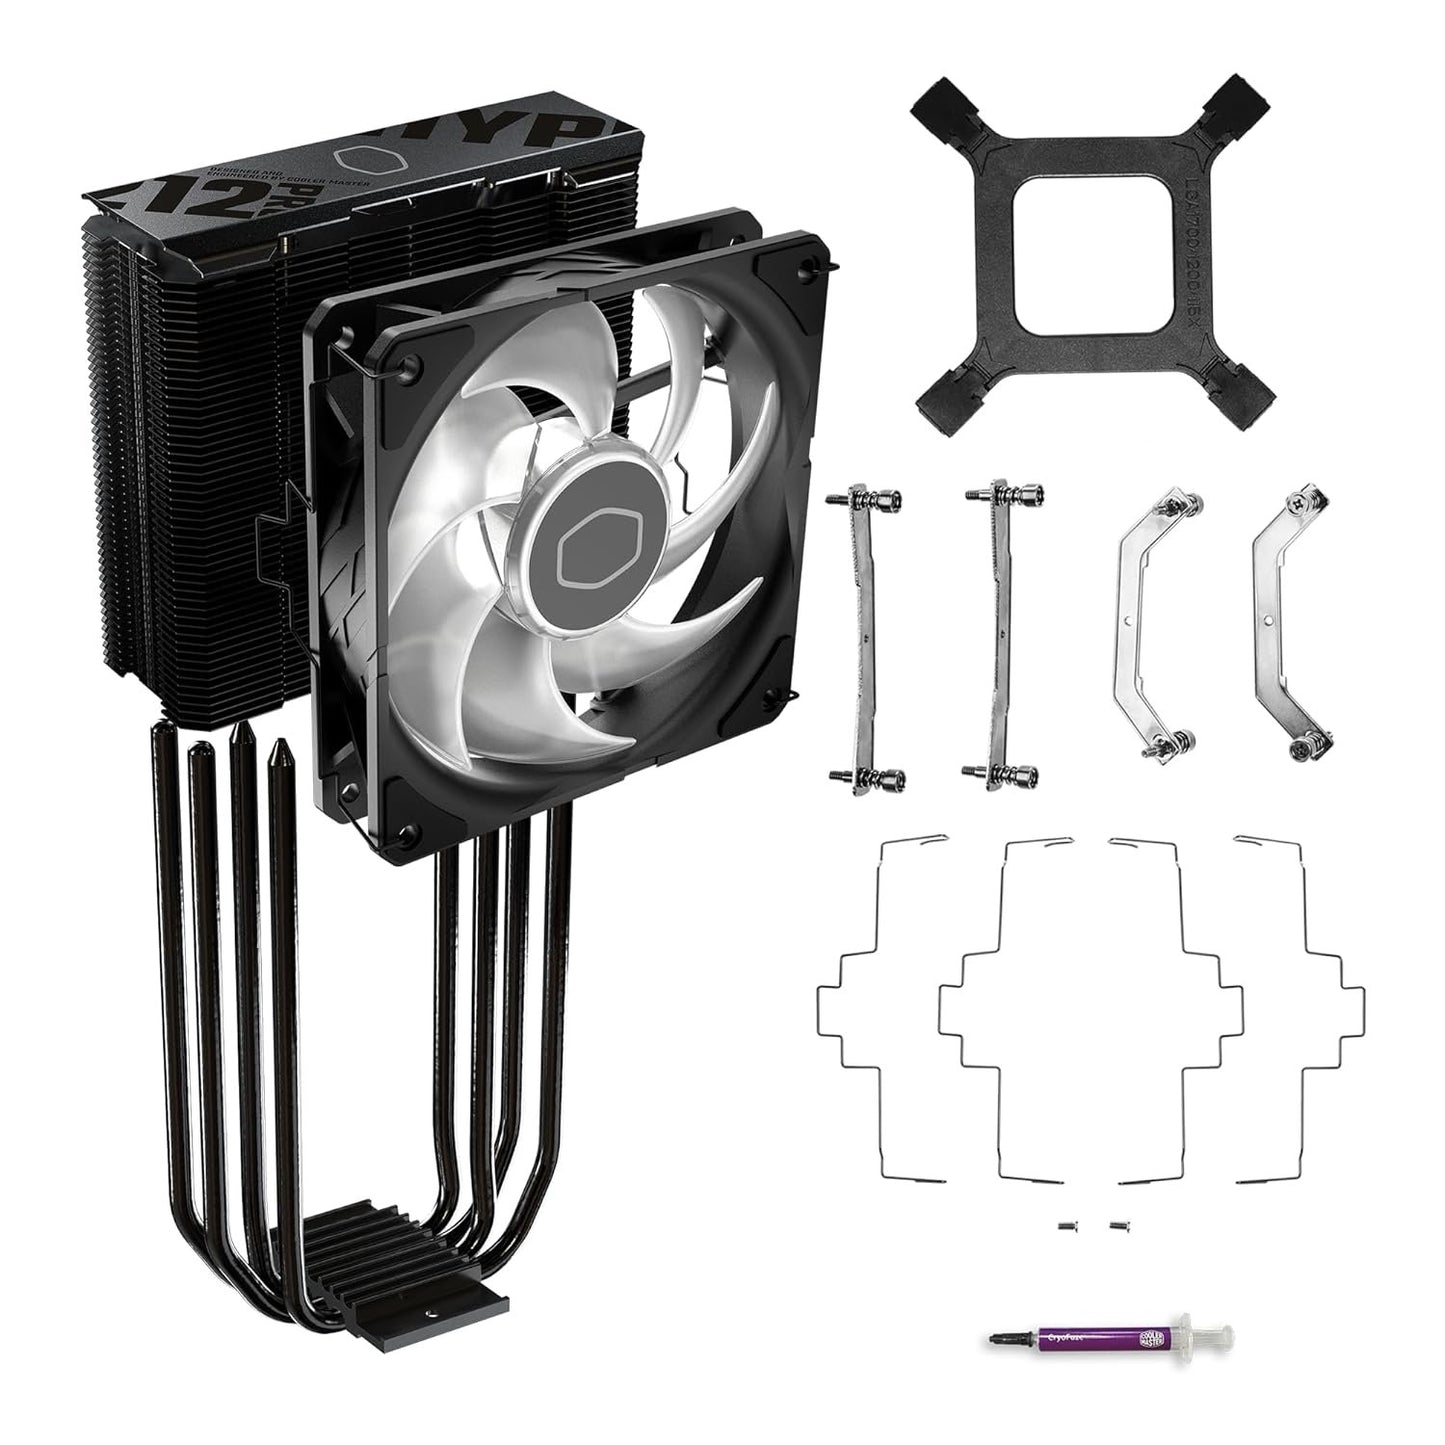
Up to 230W TDP Cooling Power | Superconductive Composite Heat Pipes (SCHP) | Zero RAM Clearance Issues (Asymmetrical Design) | SickleFlow Edge 120 ARGB Fan | Universal LGA 1851/AM5 Compatibility
⚙️ Specifications
⚙️ Specifications
Cooler Type: Air Cooler
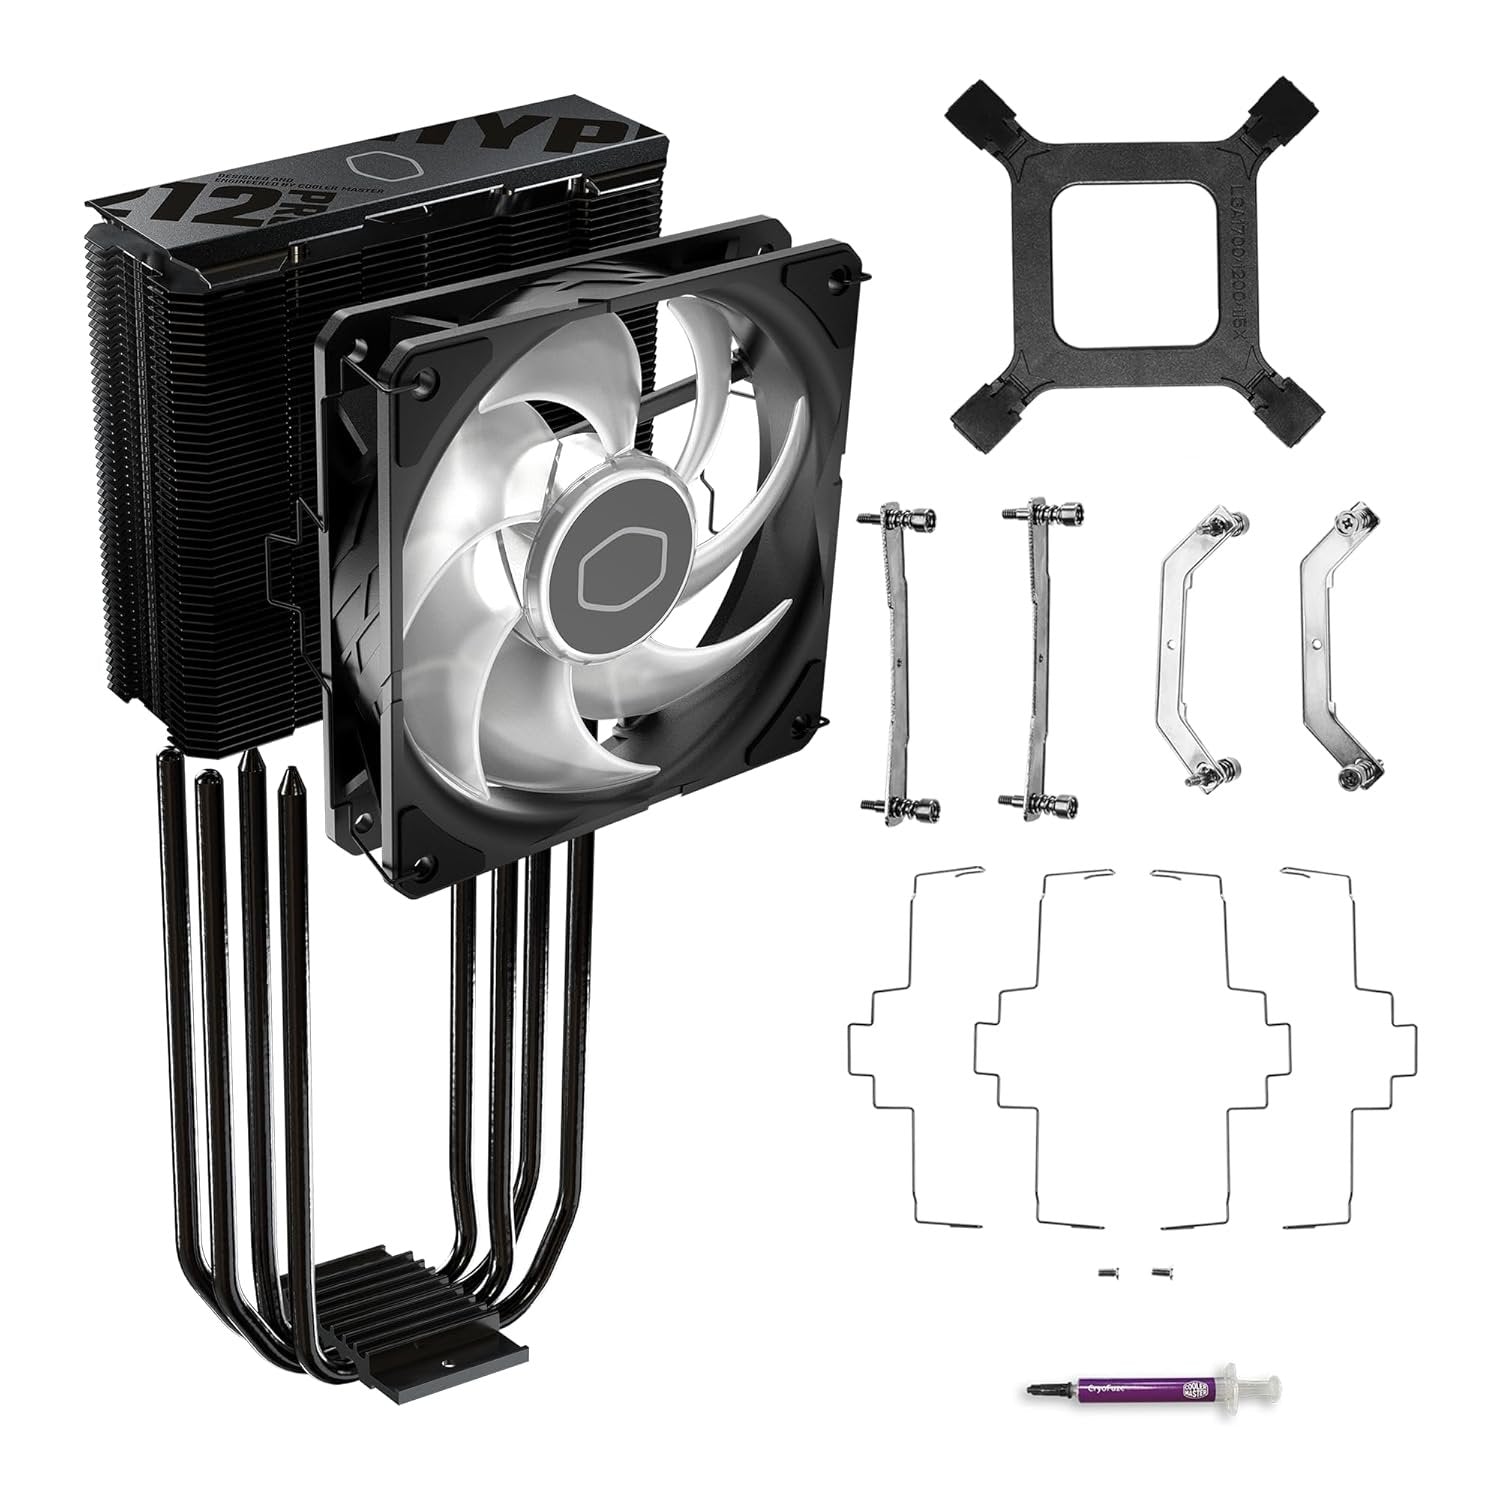
Socket Compatibility: Intel LGA 1700 / 1200 / 115X, AMD AM5 / AM4
TDP Rating: Up to 250W
Fan Size: 1 x 120mm
Noise Level: Up to 29.8 dBA
RGB Lighting: Addressable RGB (A-RGB)
For AIO Liquid Coolers Only
Radiator Size:
Radiator Thickness:
Tube Length:
For Air Coolers Only
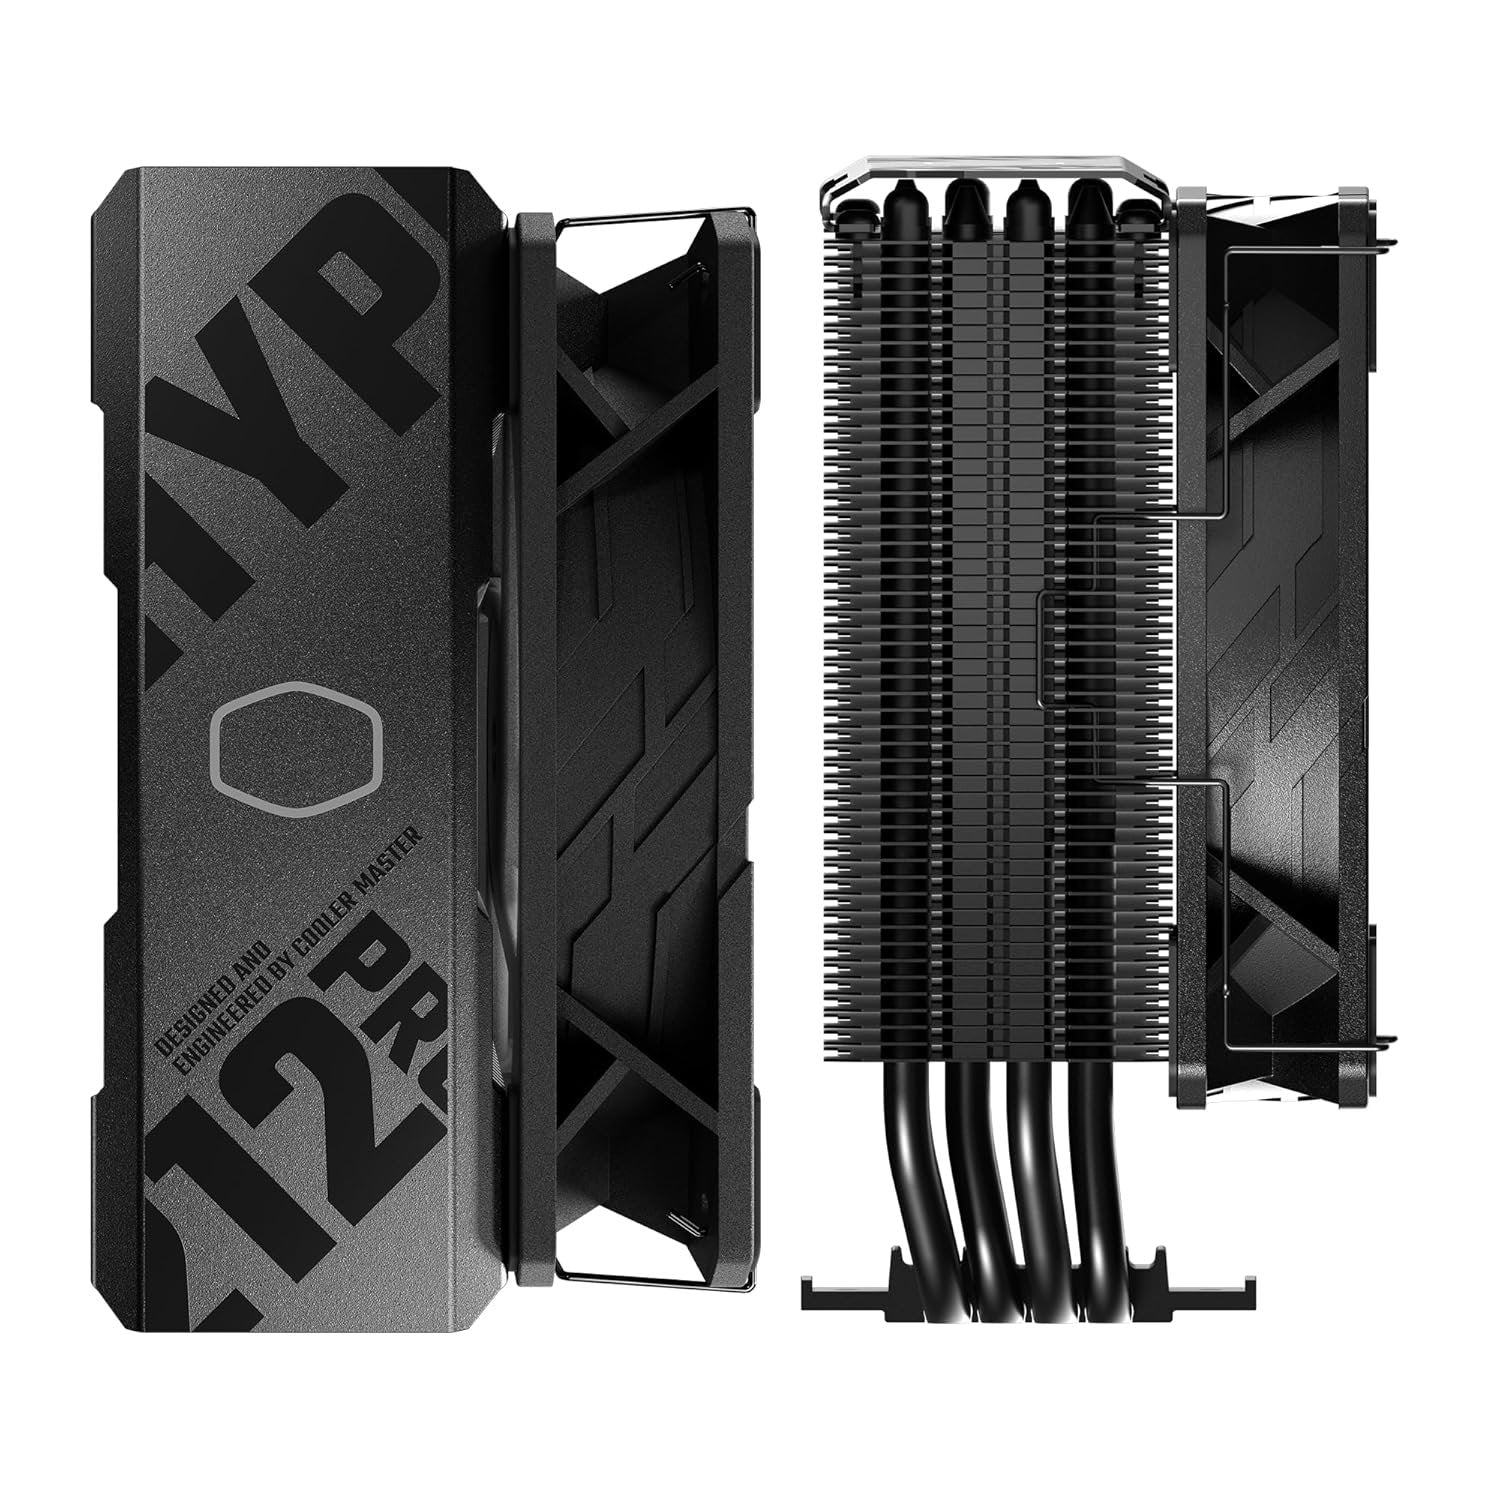
Cooler Dimensions: 158.8 mm (H) x 127 mm (L) x 72 mm (W)
Heatsink Material: Aluminum Fins, Copper Heat Pipes
Share


The POST-Check Protocol
-
Socket & Size Check
Action: Always confirm the cooler's mounting kit supports your CPU socket (e.g., LGA 1700, AM5) and measure your case to ensure the air heatsink or AIO radiator physically fits the available space. Why: Mismatched parts or oversized coolers (Air/AIO) will prevent proper installation or interfere with RAM slots.
-
Cold Plate Safety
Action: Crucial Before placing the cooler on the CPU, confirm you have removed the protective plastic film from the cold plate, even if thermal paste is pre-applied. Why: Forgetting the film will cause a failure to transfer heat, leading to immediate CPU overheating and shutdown.
-
Thermal Application
Action: If applying your own paste, use a pea-sized blob in the center of the CPU and let the cooler's pressure spread it. Why: This method ensures optimal, even coverage to fill microscopic gaps without using too much paste, which can decrease cooling efficiency.
-
Fan Orientation
Action: Set up all fans (both on the heatsink and the AIO radiator) to follow a logical airflow path (e.g., intake from front/bottom, exhaust out the top/rear). Why: Correct orientation prevents fans from working against each other and moves hot air out of the case efficiently.
-
AIO Pump Position
Action: For AIO liquid coolers, the radiator must be mounted higher than the pump/CPU block, with the tubes running to the bottom of a front-mounted radiator (if possible). Why: This ensures any air in the loop is trapped safely in the radiator, preventing it from entering and damaging the pump, which causes noise and reduces pump lifespan.