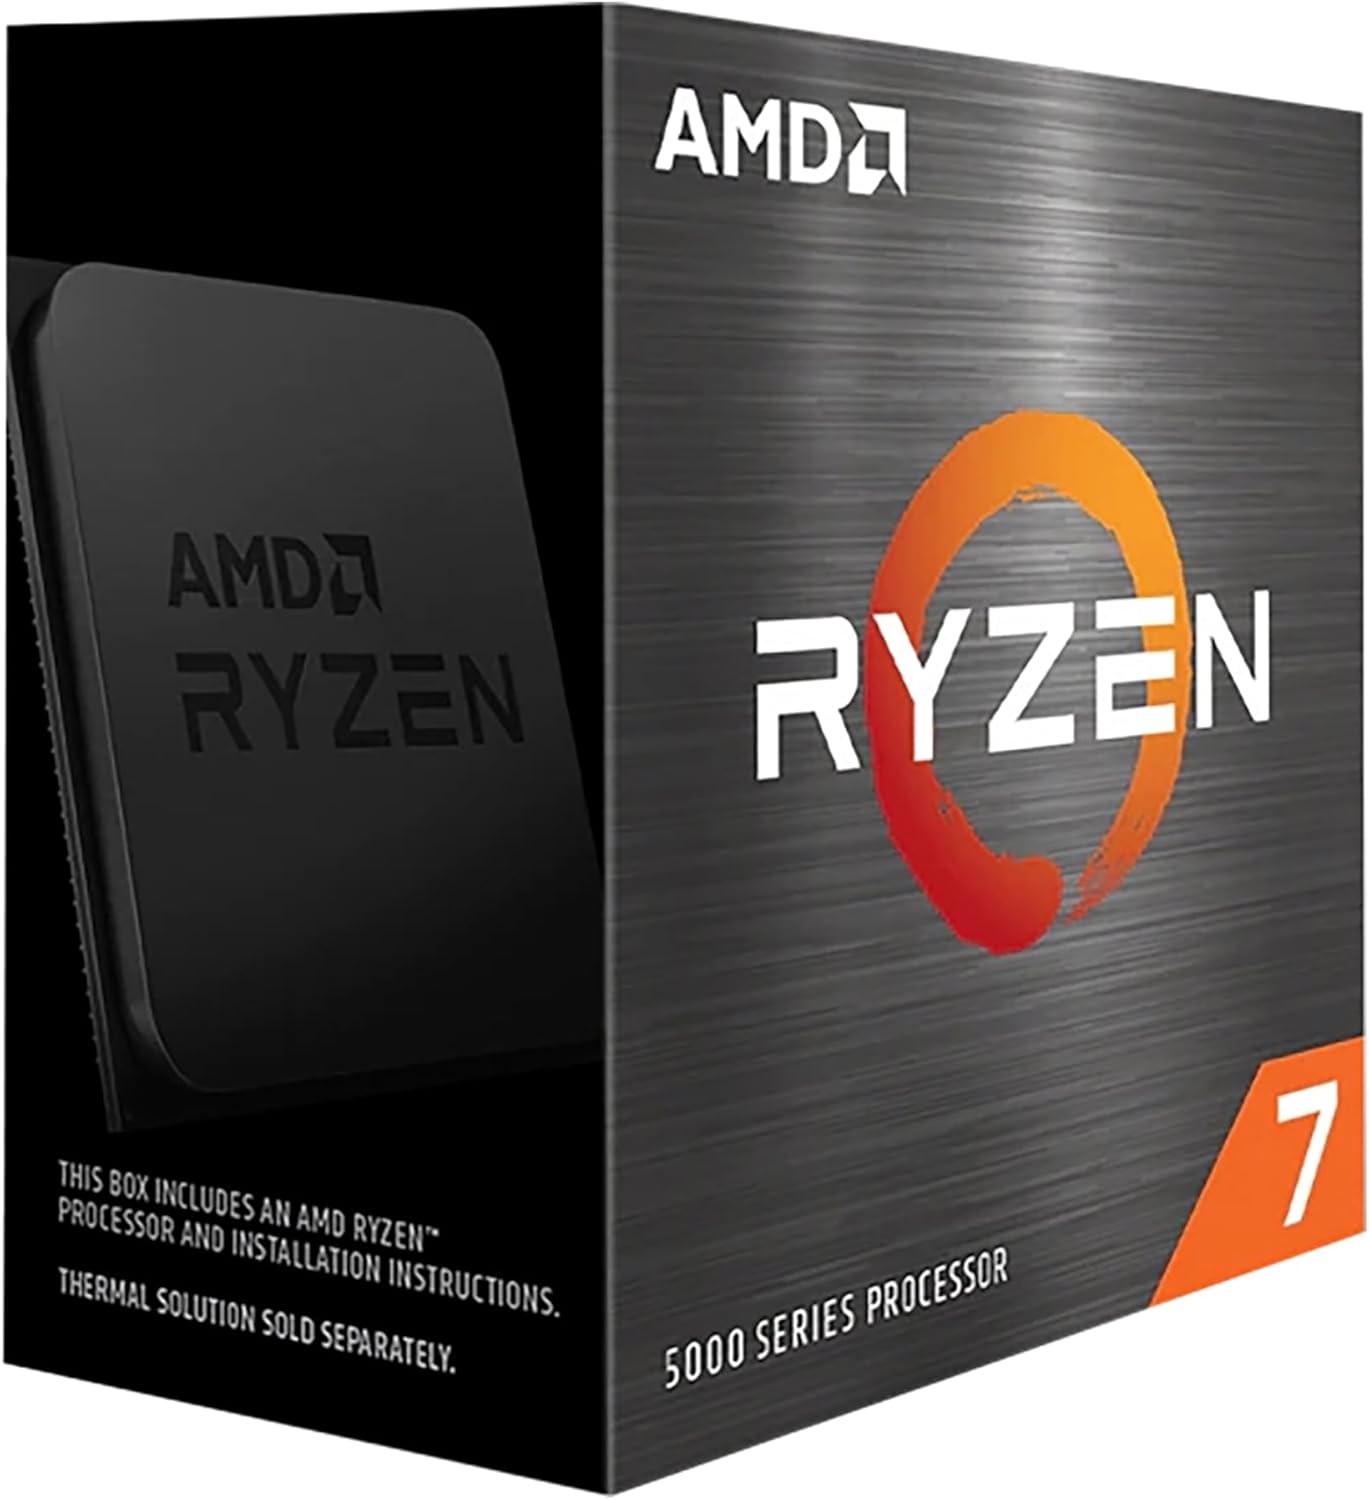
AMD Ryzen 7 5700X3D
AMD Ryzen 7 5700X3D
Couldn't load pickup availability
The King of Value for Gaming: AMD Ryzen 7 5700X3D
The AMD Ryzen 7 5700X3D is the ultimate gaming upgrade for anyone on the legendary AM4 platform. This 8-core processor unleashes an incredible boost in frame rates thanks to its revolutionary AMD 3D V-Cache Technology, giving you a massive 96MB of L3 cache. It's the perfect way to get top-tier gaming performance and extend the life of your current PC without needing to buy a new motherboard.
Note: This processor does not include integrated graphics and requires a dedicated graphics card.
⭐ Highlights
⭐ Highlights
8 Cores / 16 Threads | AM4 Platform's Best Value | Massive 96MB 3D V-Cache | Perfect Drop-In Upgrade | PCIe 4.0 Support
⚙️ Specifications
⚙️ Specifications
CPU Manufacturer: AMD
CPU Model: Ryzen 7 5700X3D
CPU Cache Size: 96 MB (L3 Cache)
CPU Clock_Speed: 3.0 GHz (Base) / 4.1 GHz (Boost)
CPU Core: 8
CPU Thread: 16
CPU Integrated Graphic: None (requires a dedicated graphics card)
CPU_Socket: AM4
CPU TDP: 105W
Share

The Post-Check Protocol
-
Socket & Chipset Match
Action: Before opening the box, verify your CPU model is officially supported by both the Motherboard Socket (e.g., LGA 1700 or AM5) and the Chipset (e.g., Z790 or B650). Why: A physical fit doesn't guarantee compatibility; installing an unsupported CPU may require a BIOS update, or the system simply won't boot.
-
Alignment & Orientation
Action: Locate the triangle or arrow on the corner of the CPU and match it exactly to the mark on the motherboard socket. Why: The CPU only seats in the socket one way; incorrect orientation is the primary cause of bent pins (AMD) or damaged socket lands (Intel).
-
Zero Force Rule
Action: Gently lower the CPU straight down into the socket; it should fall perfectly flush with zero force. Why: If the CPU does not sit flat on its own, it is misaligned, and forcing the retention arm will permanently damage the delicate pins or contacts.
-
The Retention Arm
Action: Once the CPU is seated, fully lower and lock the metal retention arm/lever until it clicks and is secured under the side tab. Why: This arm applies the necessary pressure to hold the CPU securely against the socket pins, ensuring electrical contact and preventing movement.
-
Post-Cooler Power
Action: After the CPU cooler is installed, ensure the main 8-pin CPU power cable (and any extra 4-pin cables) are firmly plugged into the motherboard header(s) before attempting to boot. Why: Forgetting this connection is a common beginner error that causes a dead system with no power or immediate shutdown on load.
-
Handle by Edges
Action: Only ever handle the CPU by the edges of the PCB (Printed Circuit Board), and work on a grounded, anti-static surface. Why: Touching the gold contacts or pins transfers static electricity and skin oils, which can degrade electrical connections and cause system instability.

